Pacific Northwest Mega Loop
My wife and I love to travel — especially when it involves strapping on hiking boots, climbing a mountain, then immediately hopping in the car for a 4-hour drive like that’s a completely normal thing to do. Over the years, we’ve built a rhythm around these kinds of adventures: one part scenic trail, one part scenic drive, and a generous dose of snacks, playlists, and post-hike sore-leg groaning. This summer, we set our sights on the Pacific Northwest — a region where you can drink espresso, spot glaciers, and dodge marmots all before lunch.
The plan? A 9-day loop starting in Seattle and winding through British Columbia and Washington State, with stops at Garibaldi, Joffre Lakes, Mount Baker, North Cascades, and Rainier. We chased alpine lakes, hiked until our knees complained, and found out exactly how many energy bars two people can eat in a week (answer: too many). We typically don’t book hotels until we’re sure where we’ll land each night — which adds a fun layer of spontaneity (and occasional sticker shock) to the mix. If you’re the type who thinks a perfect vacation involves sweating up a trail and figuring the rest out on the fly — this one’s for you.
Day 1: Seattle → Squamish, BC
Flight Arrival: 11:30 AM local time
Drive Time: ~5.5 hours (with bonus border crossing fun)
Day one was all about getting ourselves and our gear from Chicago to the starting line of our adventure. We touched down in Seattle just before noon, grabbed our rental car, and hit the road north — fueled by airport adrenaline and an unreasonable amount of granola bars.
The route from Seattle to Squamish winds through Washington, crosses the Canadian border, and then hops onto the Sea to Sky Highway, which lives up to its name in every possible way. Ocean views? Check. Towering cliffs? Yup. Mountains that seem to appear out of nowhere and make you say, “Wait, are we in a Patagonia ad?” — absolutely.
Even though we were tired from travel, the drive itself felt like a worthy kickoff to the trip. The scenery got better with every mile, and by the time we reached Squamish, we were already buzzing with anticipation for the hikes ahead.
Day 2: Squamish, BC
After a solid night’s sleep in Squamish (and a brief moment of panic realizing our international phone plans didn’t include quite as much data as we thought), we kicked off Day 2 with big hiking ambitions and an even bigger sense of optimism. Originally, we had planned to conquer the Stawamus Chief — a granite wall of a hike featuring chains, ladders, and a soul-checking 2,600-foot climb.
But as we sipped our morning coffee and looked at the week’s hiking schedule, we collectively had the same thought: Why climb a mountain when there’s a gondola that’ll do it for you?
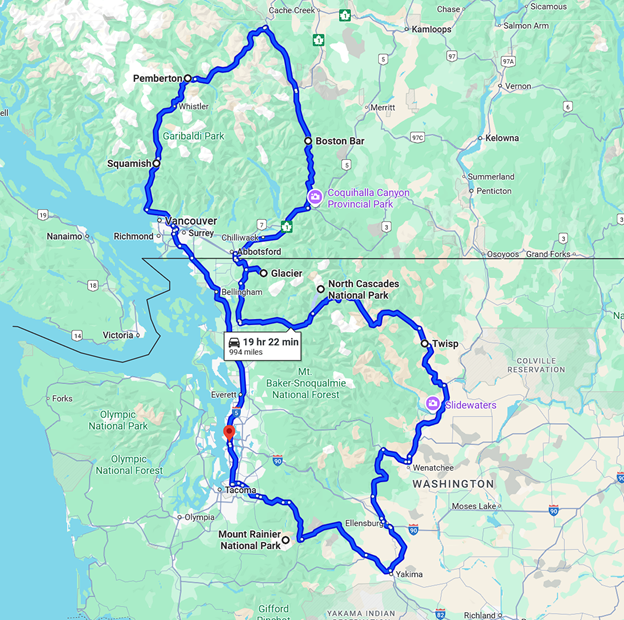
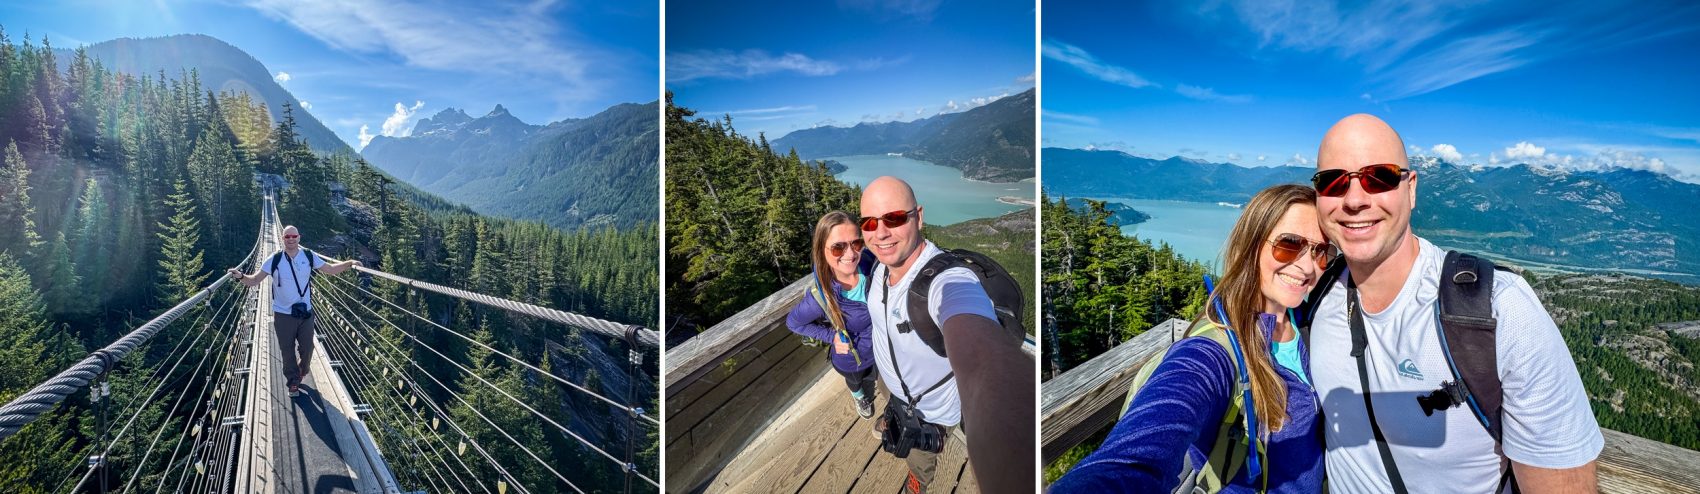
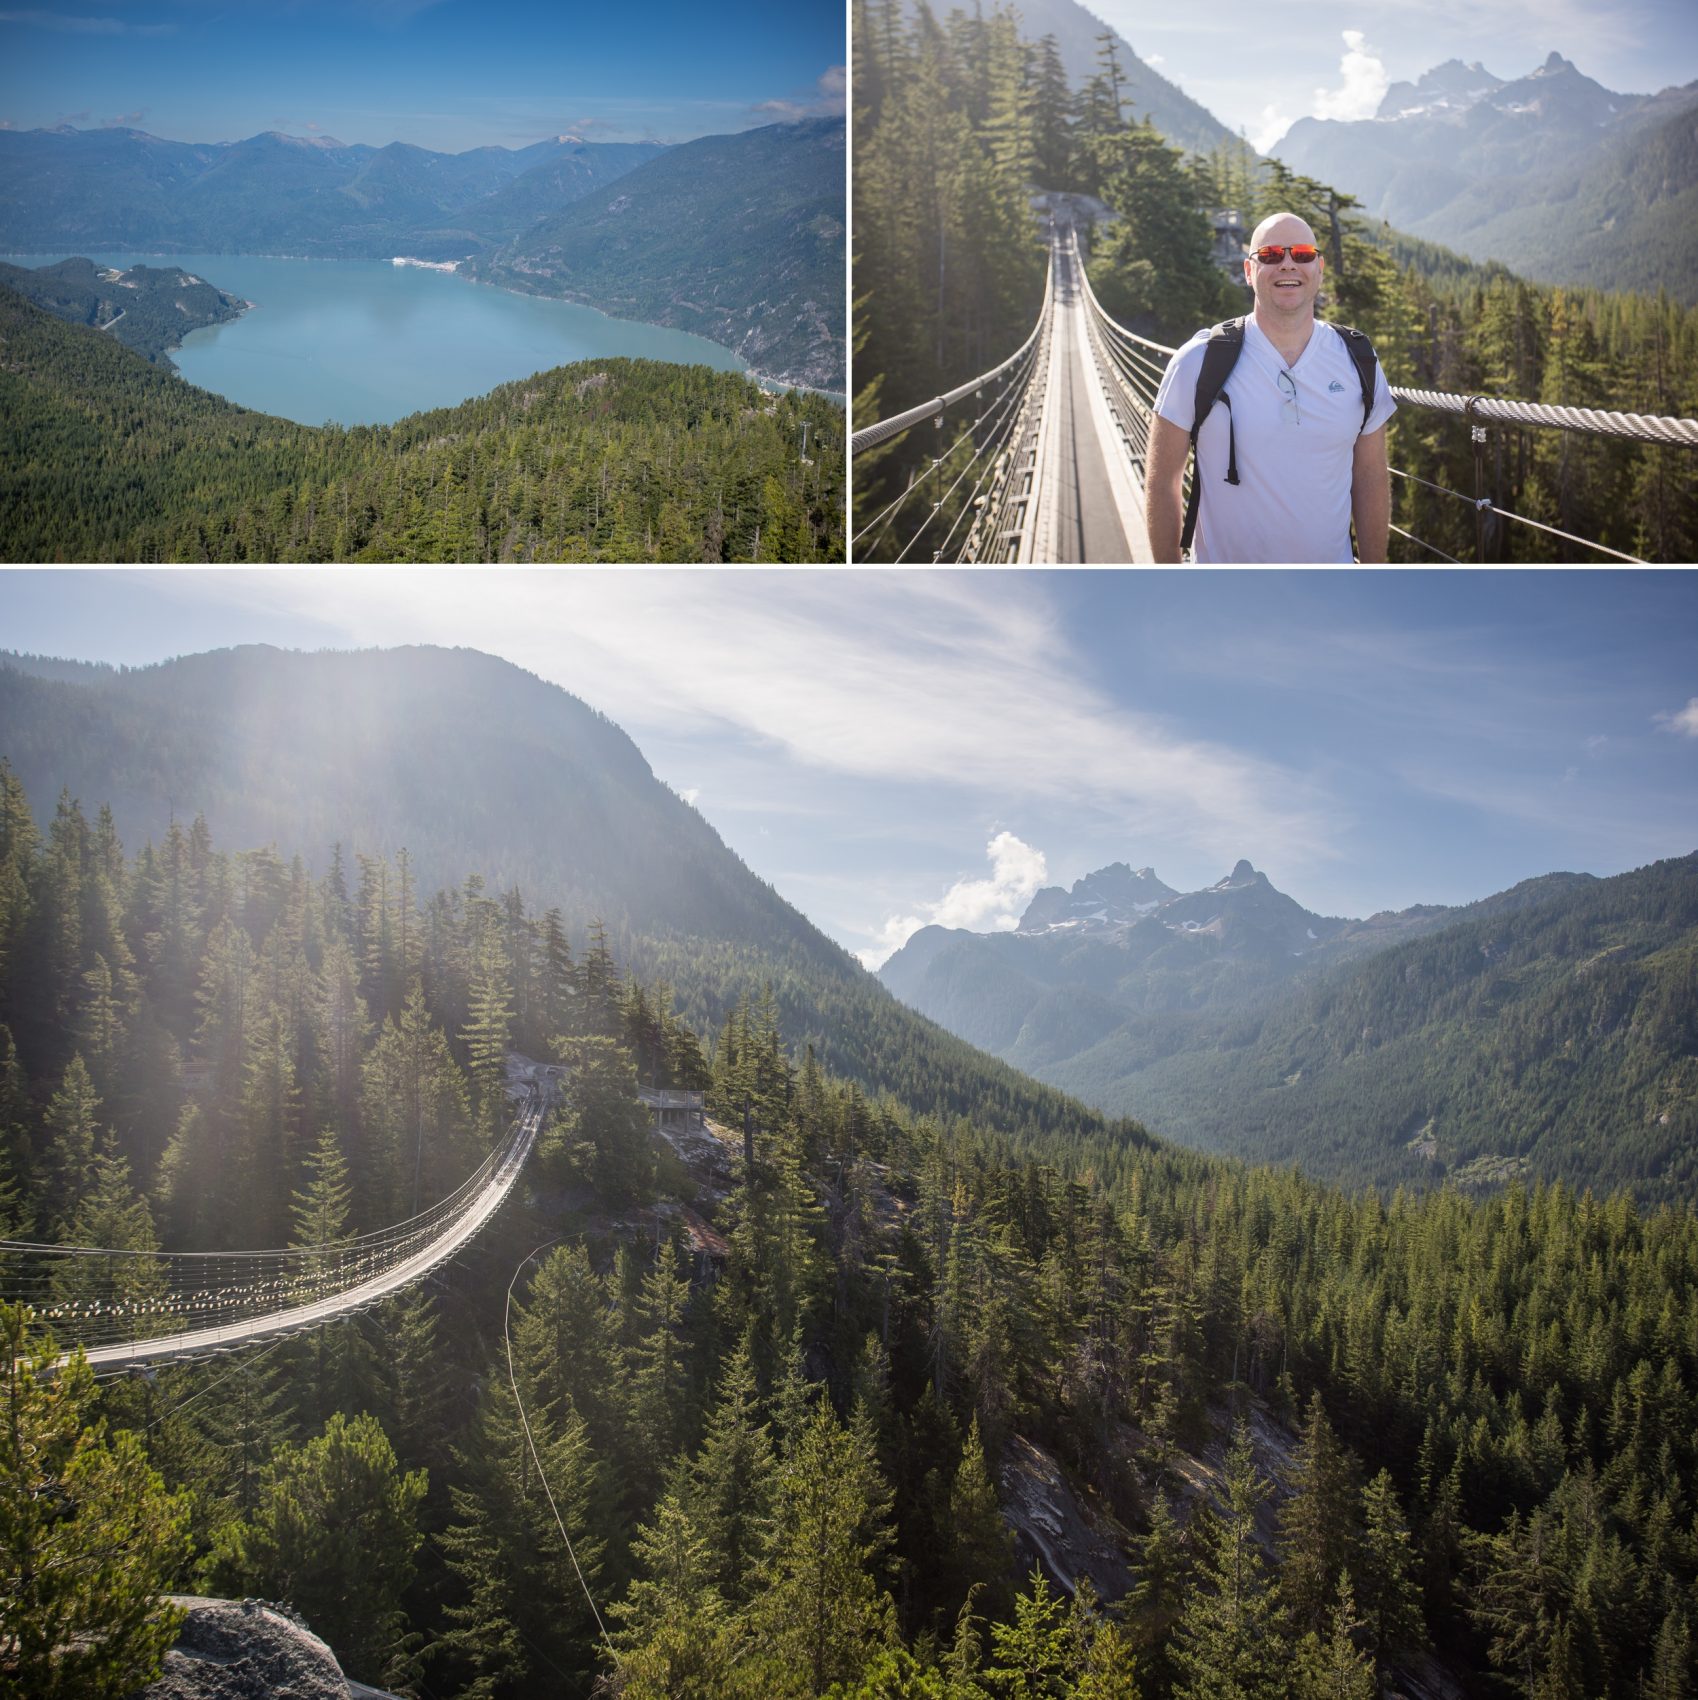
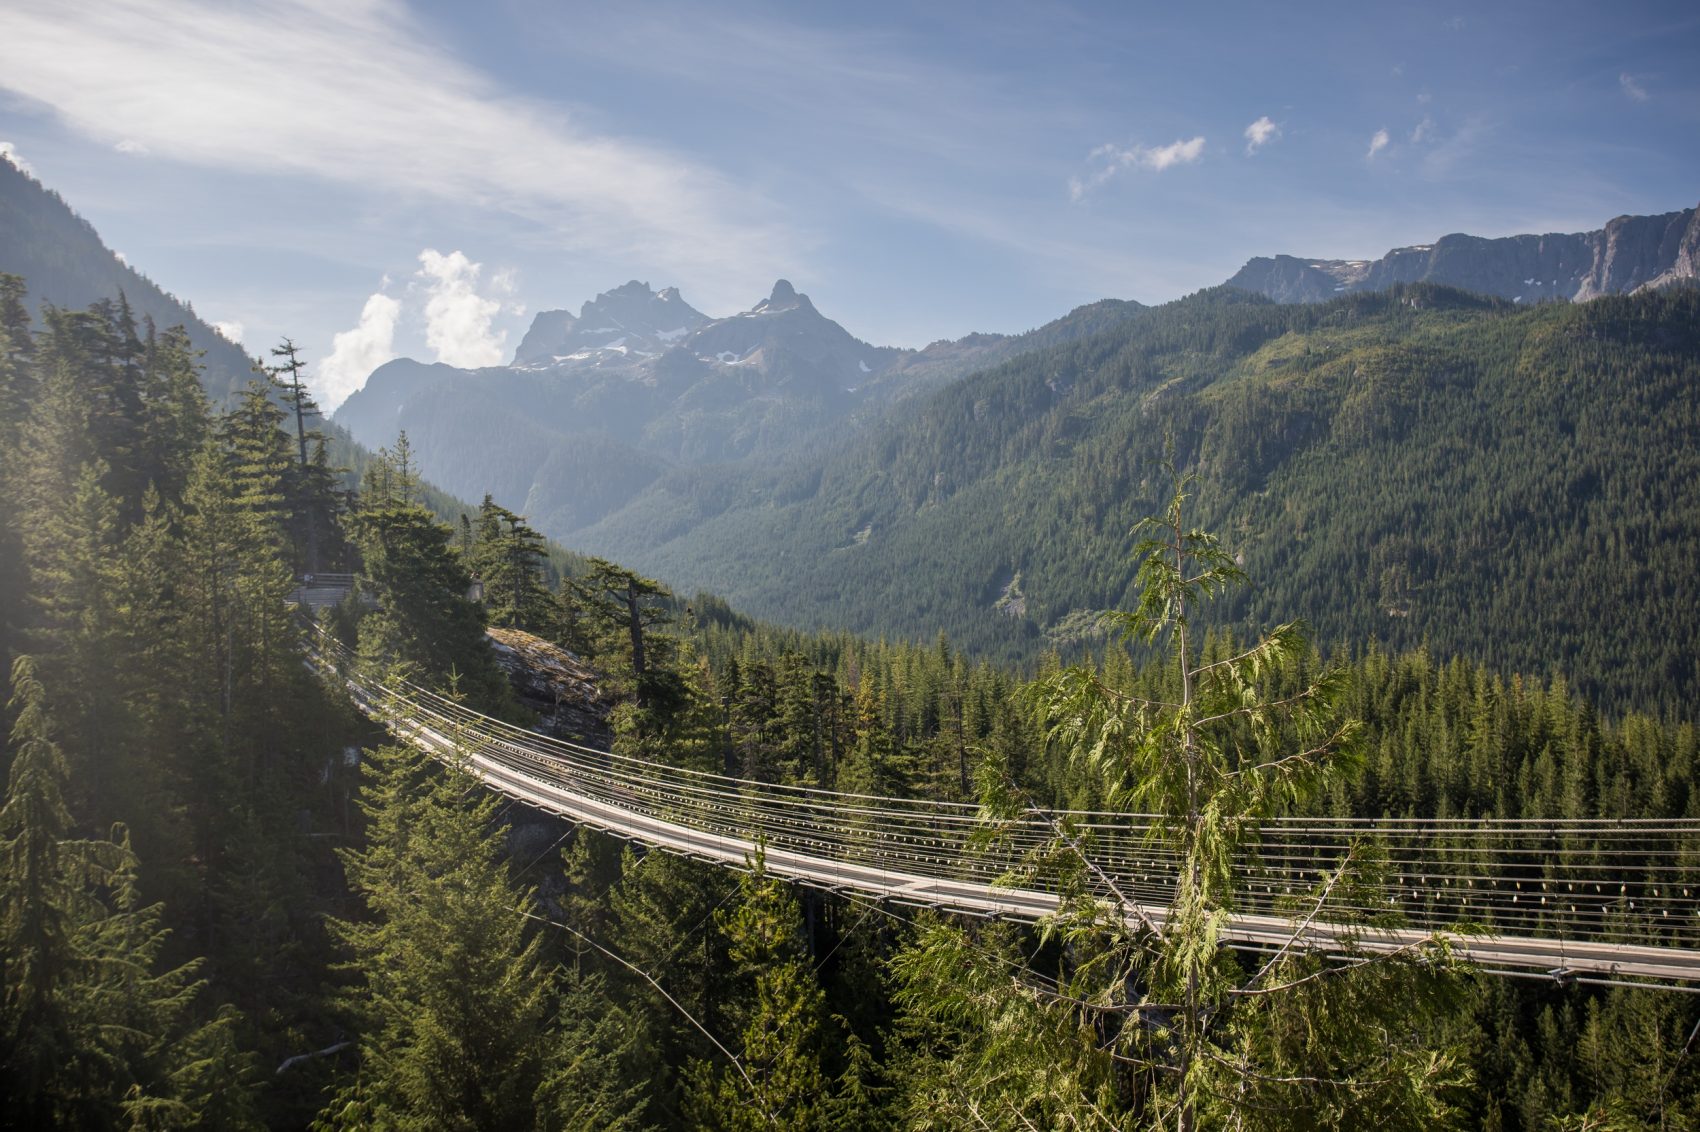
So instead, we hit up the Sea-to-Sky Gondola — and it was the right call. The ride to the top was smooth, scenic, and mercifully sweat-free. From the summit, we wandered through ridge trails with sweeping views of Howe Sound and the coastal range, then crossed the Sky Pilot Suspension Bridge, which offered jaw-dropping vistas and just enough sway to keep things interesting. Honestly, the views were nearly identical to what you’d get from the Chief’s summit — but we got there with zero blisters and a lot more dignity.
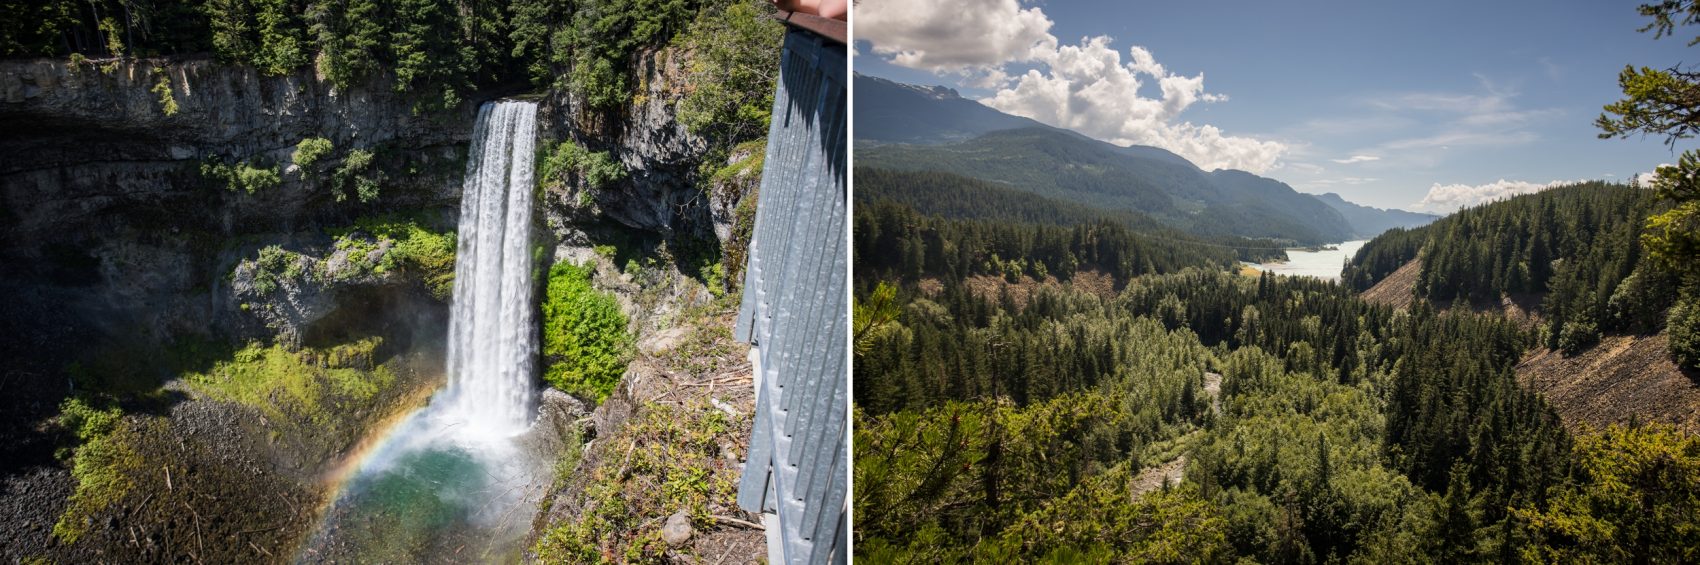
On our way out of town, we made a quick stop at Brandywine Falls, which turned out to be another absolute gem. The trail was so short and flat it felt like cheating — but then boom, a 70-foot waterfall comes crashing into view like nature yelling, “You thought I was done?!” It thundered into a mossy canyon like someone cranked a white noise machine to “Waterfall Rager” mode. It’s one of those glorious stops where you put in almost zero effort, but your photos say, “Just finished a grueling 10-miler with 4,000 feet of gain.”
Day 3: Garibaldi Lake
Trail Stats: ~11.5 miles, ~2,690 ft elevation gain
We knew Garibaldi Lake was going to be tough. Everyone says it’s tough. We read the mileage, saw the elevation gain, looked at the maps… and yet somehow, nothing fully prepared us for the sheer psychological warfare that is hiking switchbacks for four straight miles through a tunnel of trees.
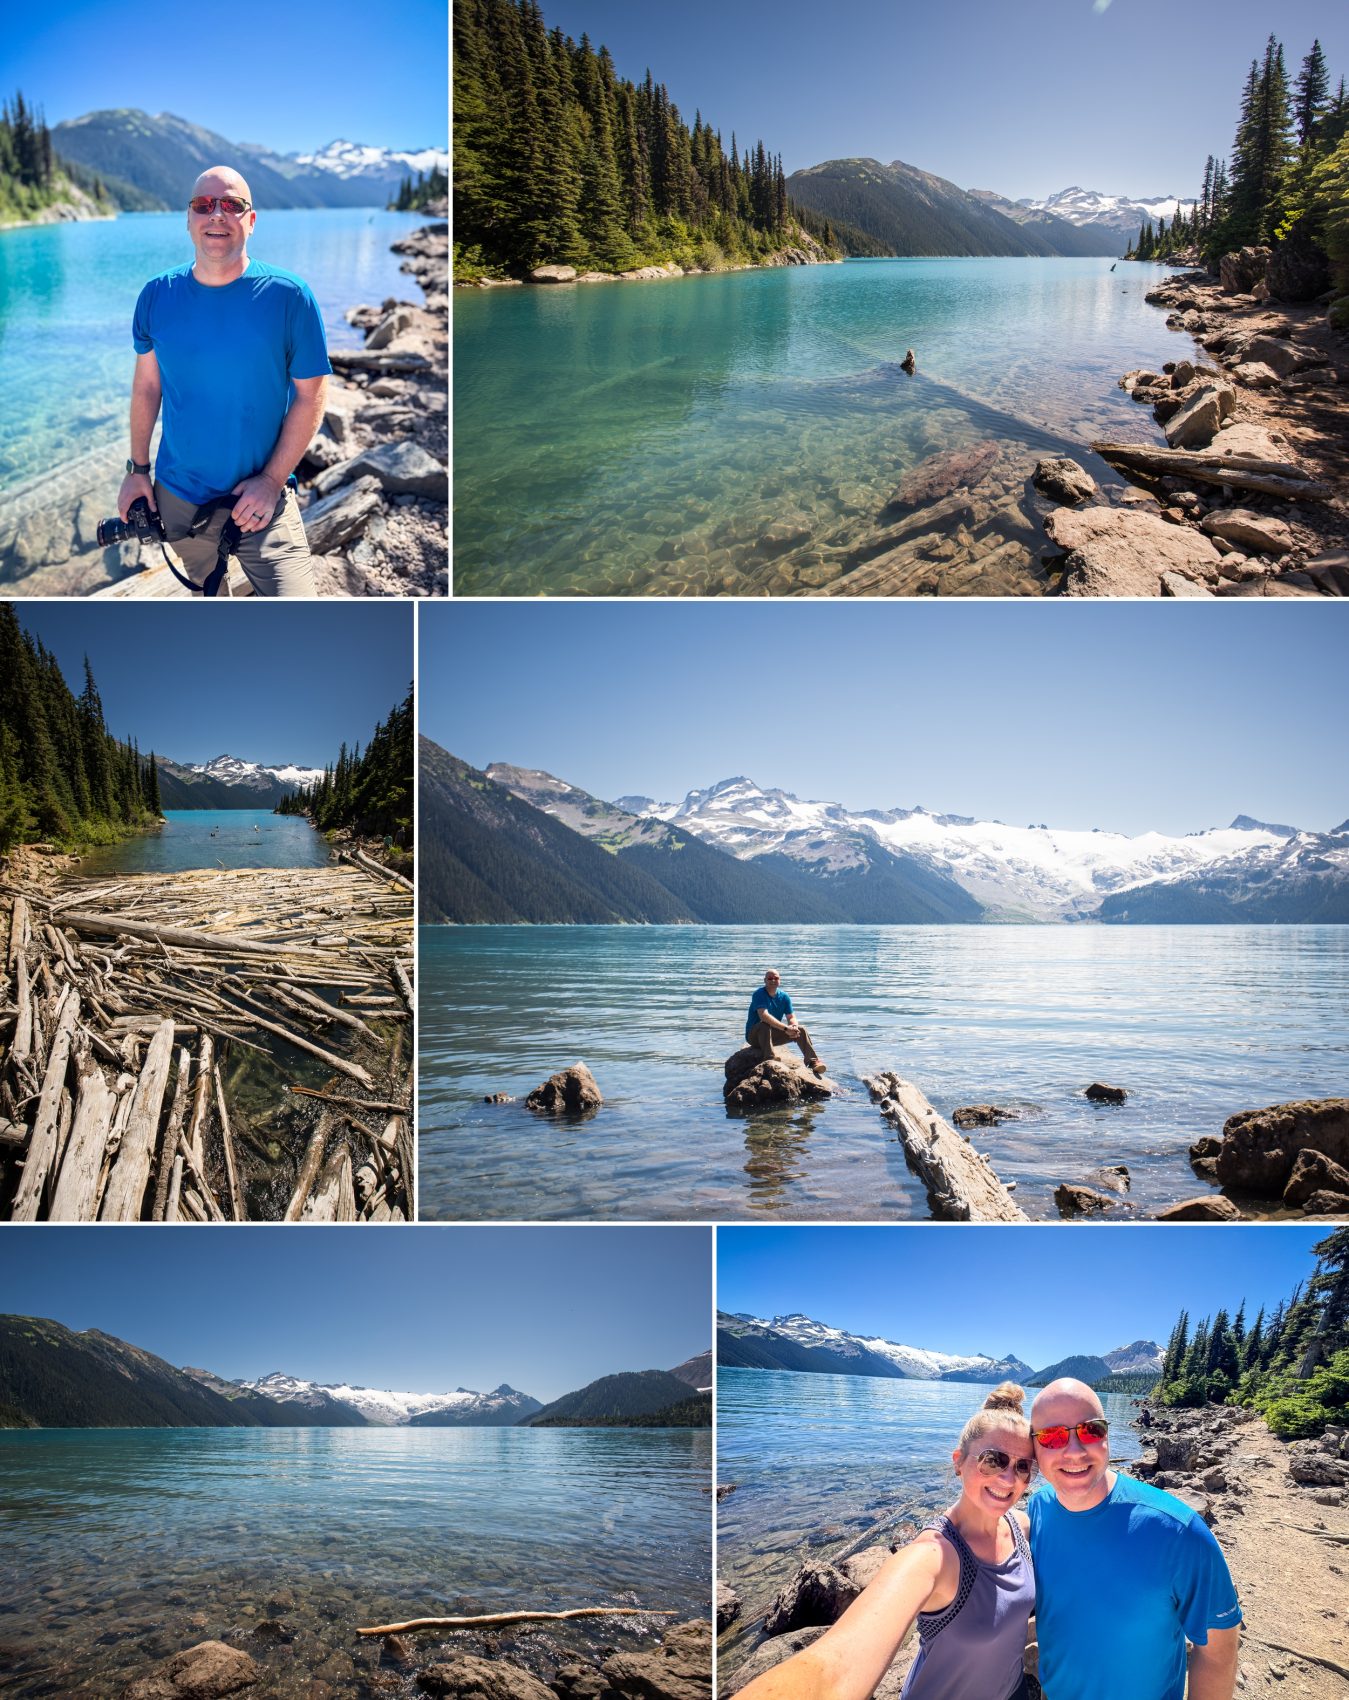
This trail was basically one long vertical treadmill in the forest — scenic in the way that, say, a well-kept lumber yard is scenic. No views, no breezes, just tree after tree after tree. And right when your soul starts to question its life choices… BAM. The lake appears — and it’s absolutely stunning.
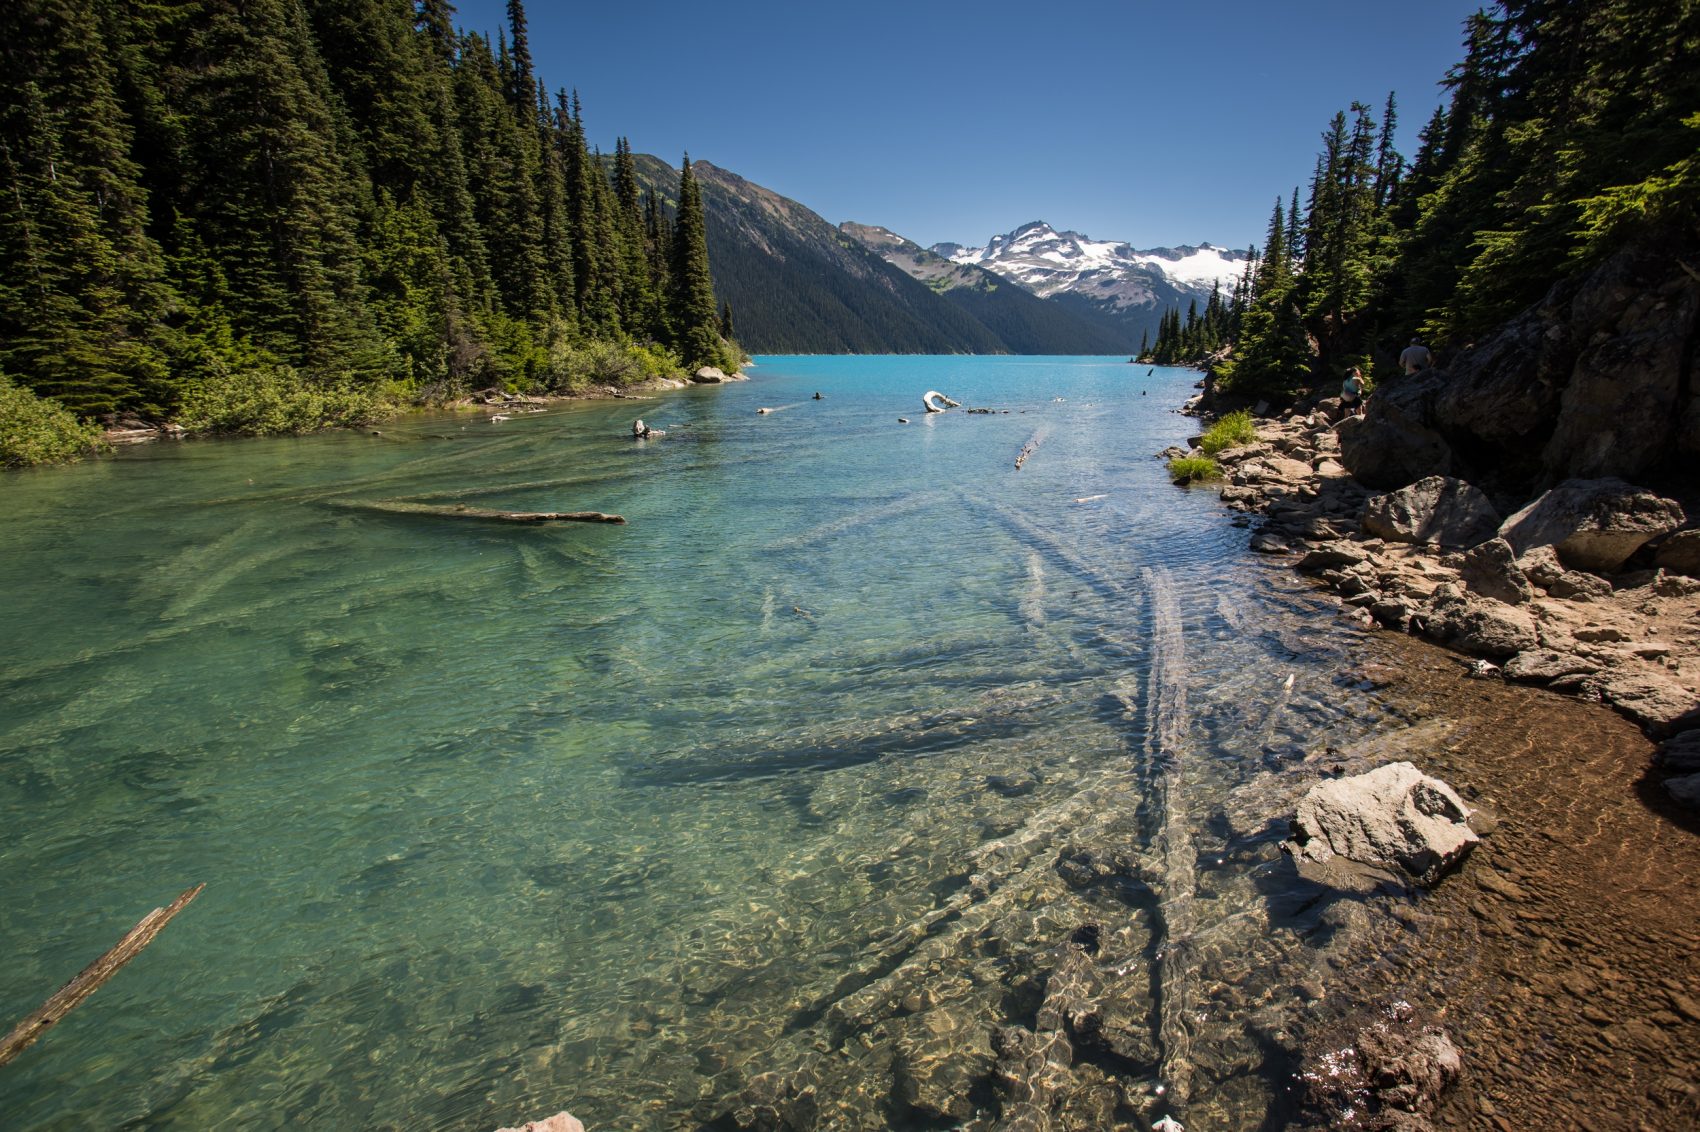
Garibaldi Lake is that classic glacier-fed turquoise you dream about when planning trips like this. Surrounded by snow-capped peaks and icy blue water so clear it looks fake, the lake fully delivers on its reputation. We soaked it in, had lunch by the shore, and tried to forget about the fact that our knees would soon have to carry us all the way back down.
The descent, in a cruel twist, was just as bad — possibly worse. Our toes were wrecked, our knees took a beating, and we both swore we heard a switchback laugh at us. It was the kind of hike that gives you beautiful photos and long-term joint damage in equal measure.
We had hoped to tackle Panorama Ridge as an add-on, but once we realized that meant 20+ miles round-trip and another 2,000 feet of climbing, we tapped out. Maybe next time — preferably with an airlift to the ridge.
Day 4: Joffre Lakes → Glacier, WA
Trail Stats: ~6.6 miles, ~1,570 ft elevation gain
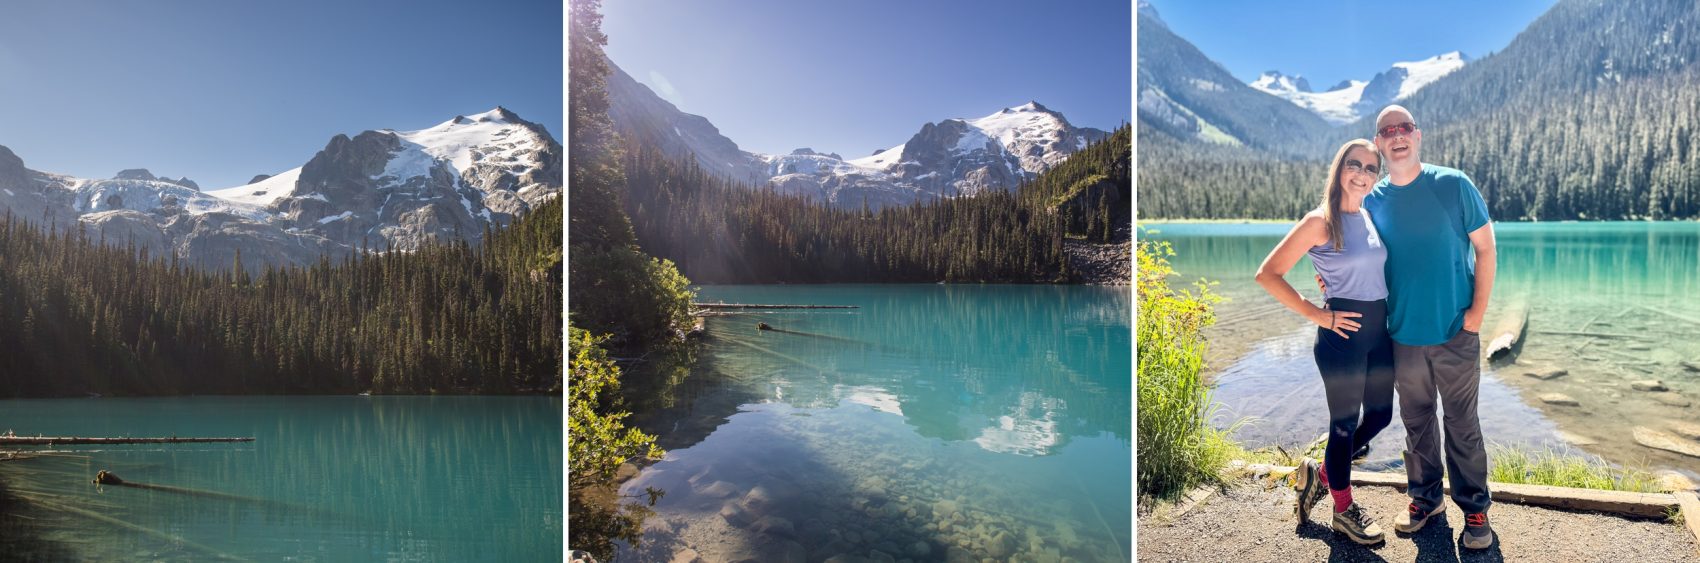
We woke up in Pemberton still nursing our wounds from the Great Garibaldi Knee Beating of Day 3, but there was no way we were skipping Joffre Lakes. It’s one of those must-see hikes in British Columbia — and thankfully, it comes with less elevation gain and way more visual payoff.
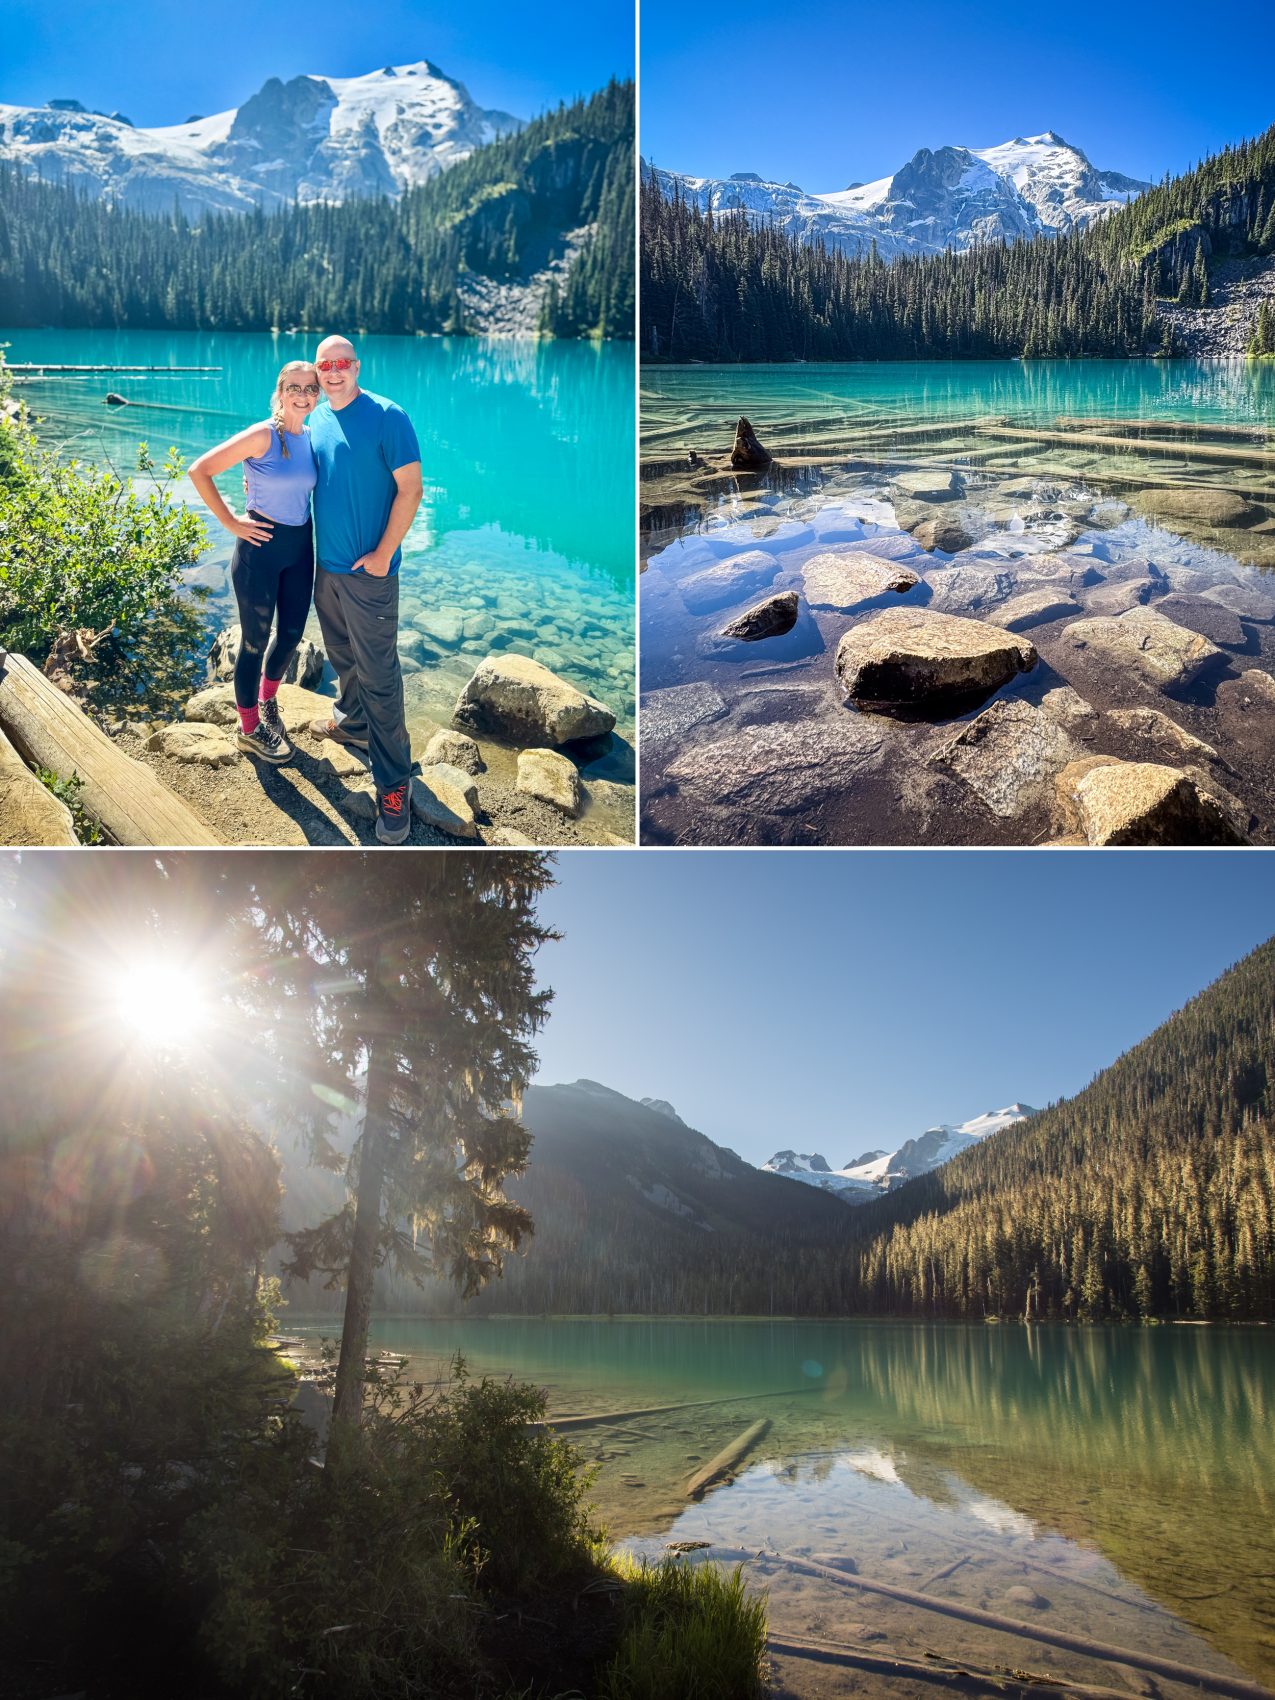
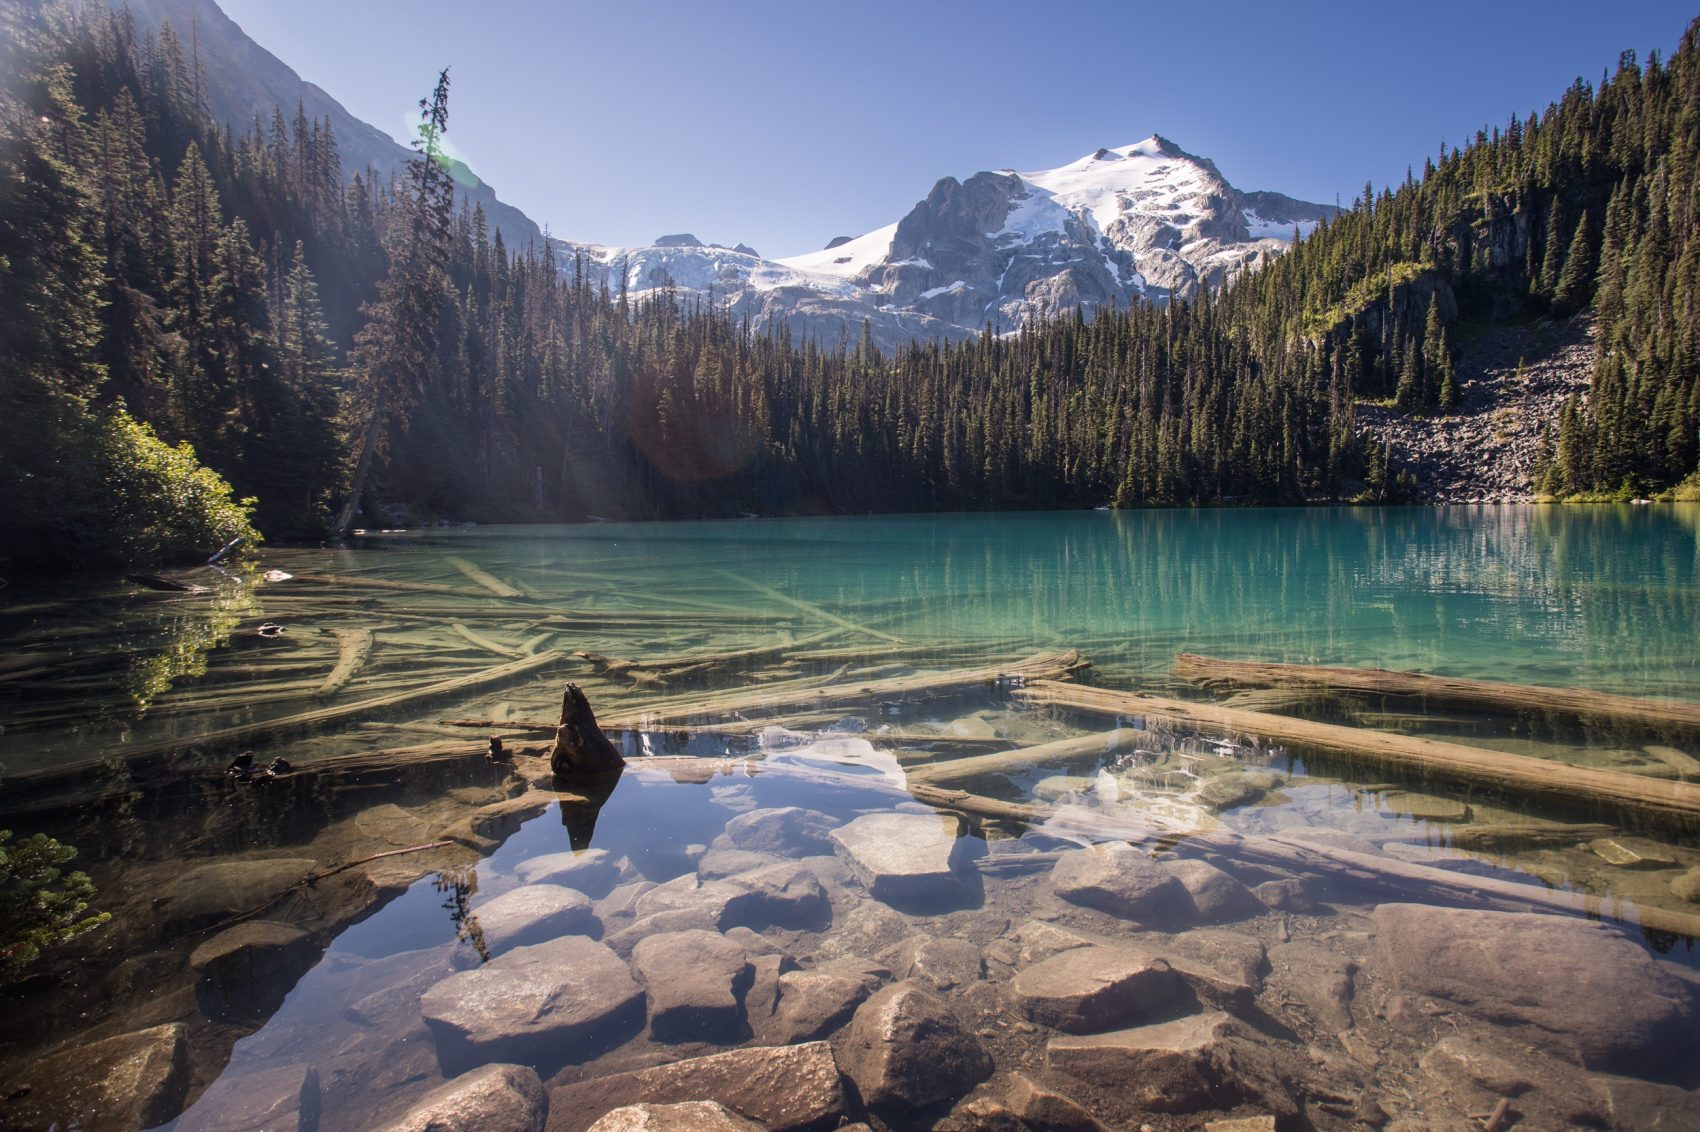
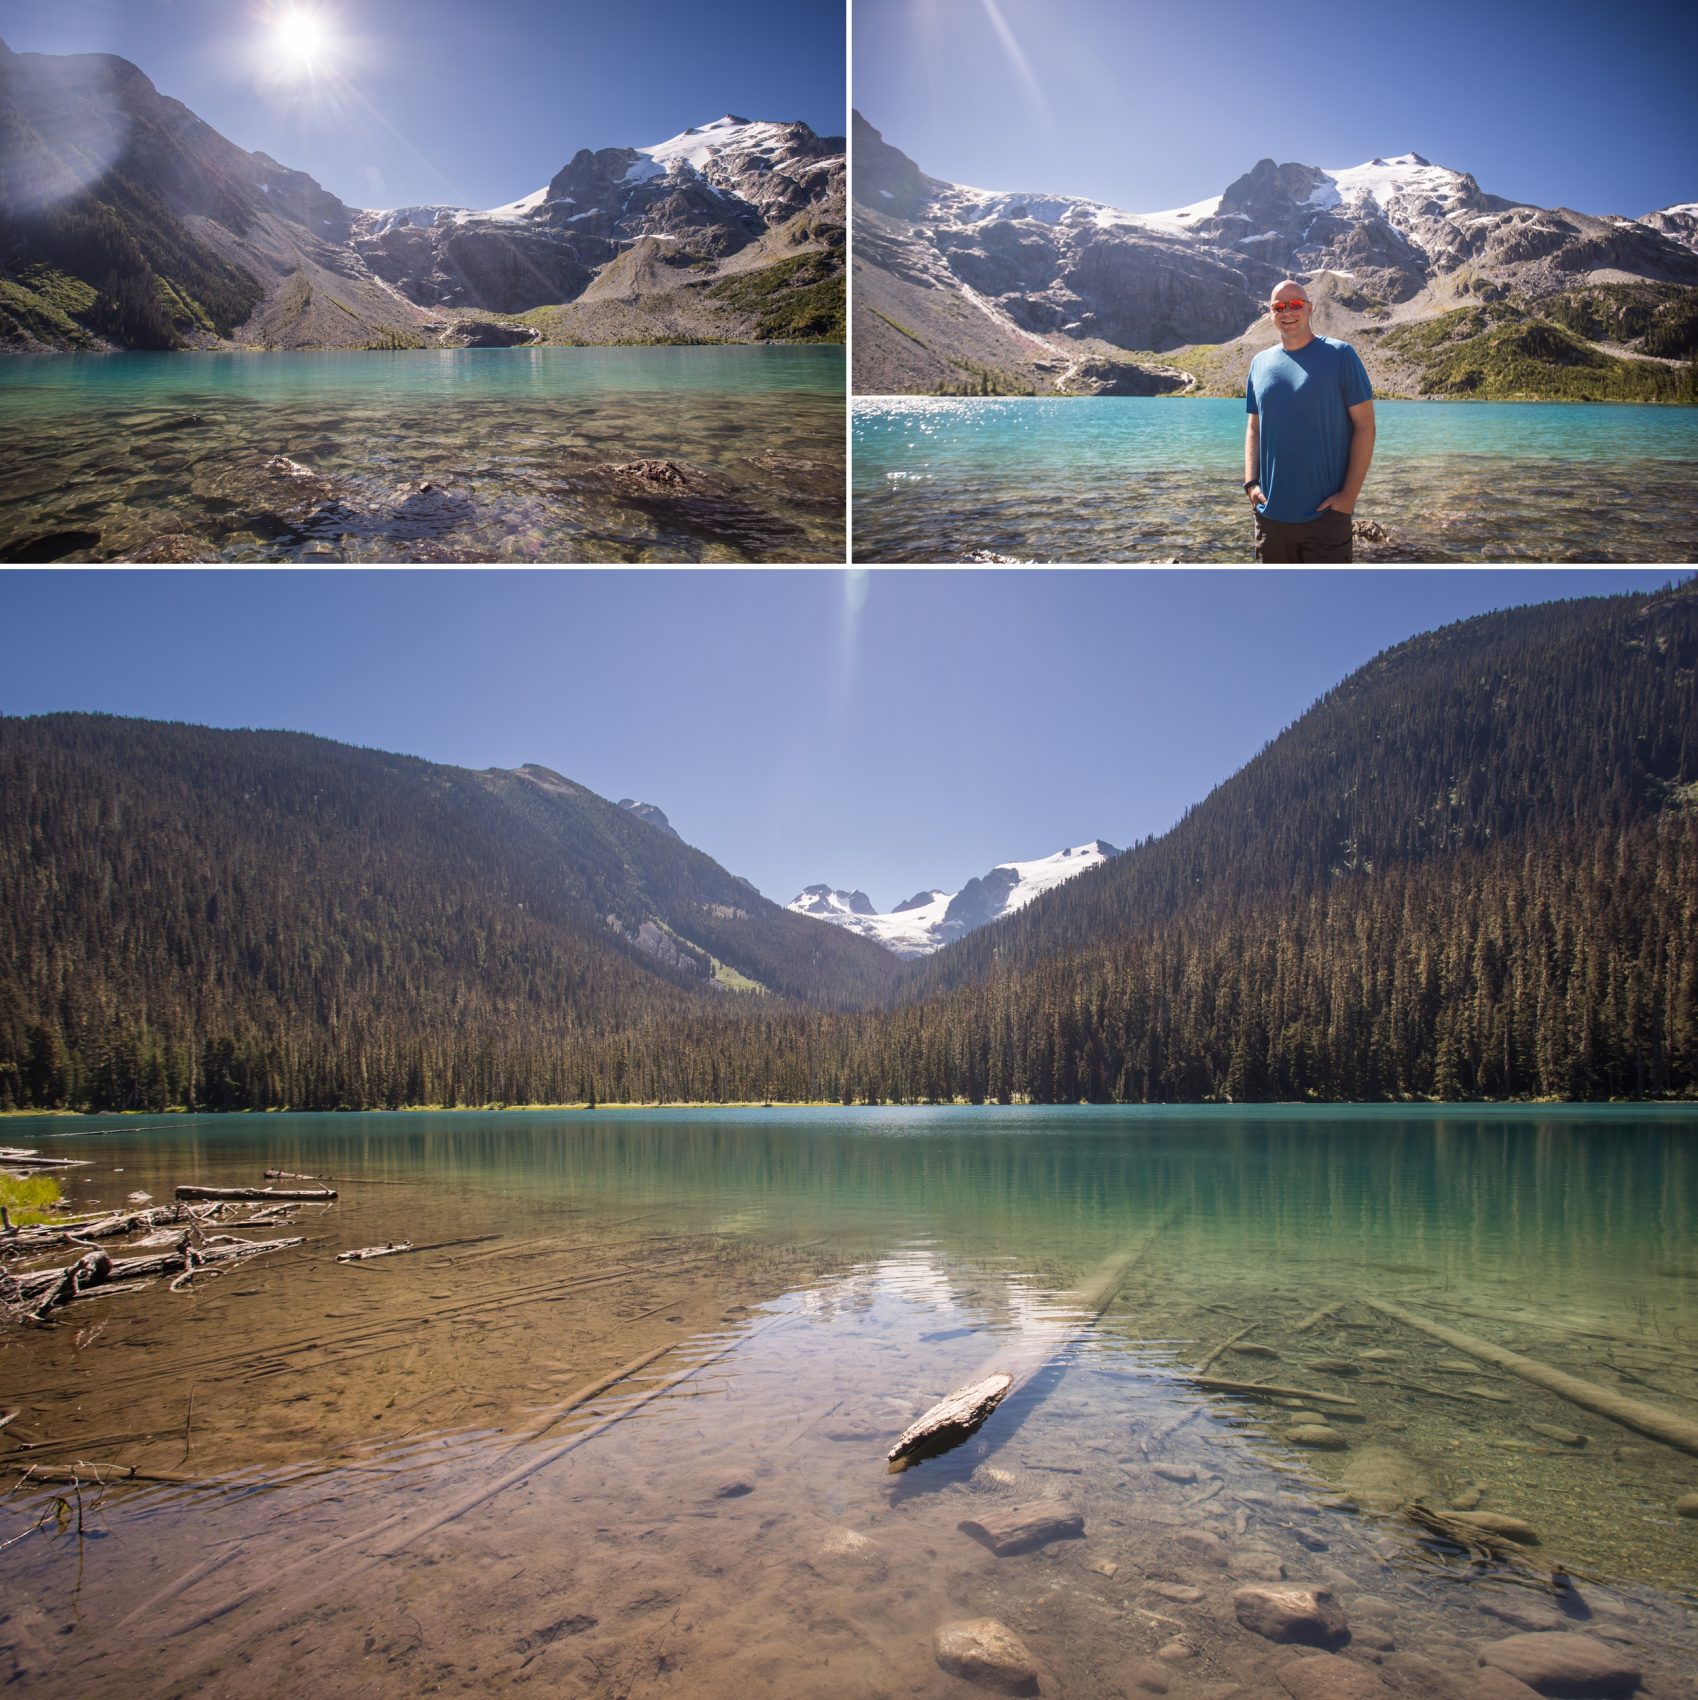
The trail takes you past three glacier-fed lakes, each a different shade of unreal turquoise. Lake One was a nice warm-up — peaceful, clear, and beautiful… but kind of like the opening band for what’s coming next. Lake Two? That’s the rockstar. Photogenic from every angle, backdropped by glaciers and cliffs, with water so blue it looks like someone cranked the saturation slider to “liquid gemstone.” We hung out there a while and took way too many photos pretending to act casual near the shoreline.
Lake Three sits higher up and offers its own kind of drama — jagged peaks, floating ice, and that end-of-trail serenity that makes you forget you’re still kind of limping. We took our time on this one, not just because our toes were still throbbing, but because the views deserved it.
After the hike, we loaded up the car and made our way south across the border into Washington. The drive to Glacier, WA was long but incredibly scenic — a beautiful mix of rivers, valleys, and tiny mountain towns that gave us time to recover, snack, and loudly declare which lake was our favorite (Lake Two. Final answer.).
We rolled into Glacier just before things shut down for the night — pro tip: this town closes early and has no cell service, so make sure to preload your maps, and maybe your dinner. Still, the remote mountain vibe and fresh air were exactly what we needed heading into the next leg of the trip: Mount Baker.
Day 5: Mount Baker — Chain Lakes Loop
Trail Stats: ~7.1 miles, ~1,400 ft elevation gain
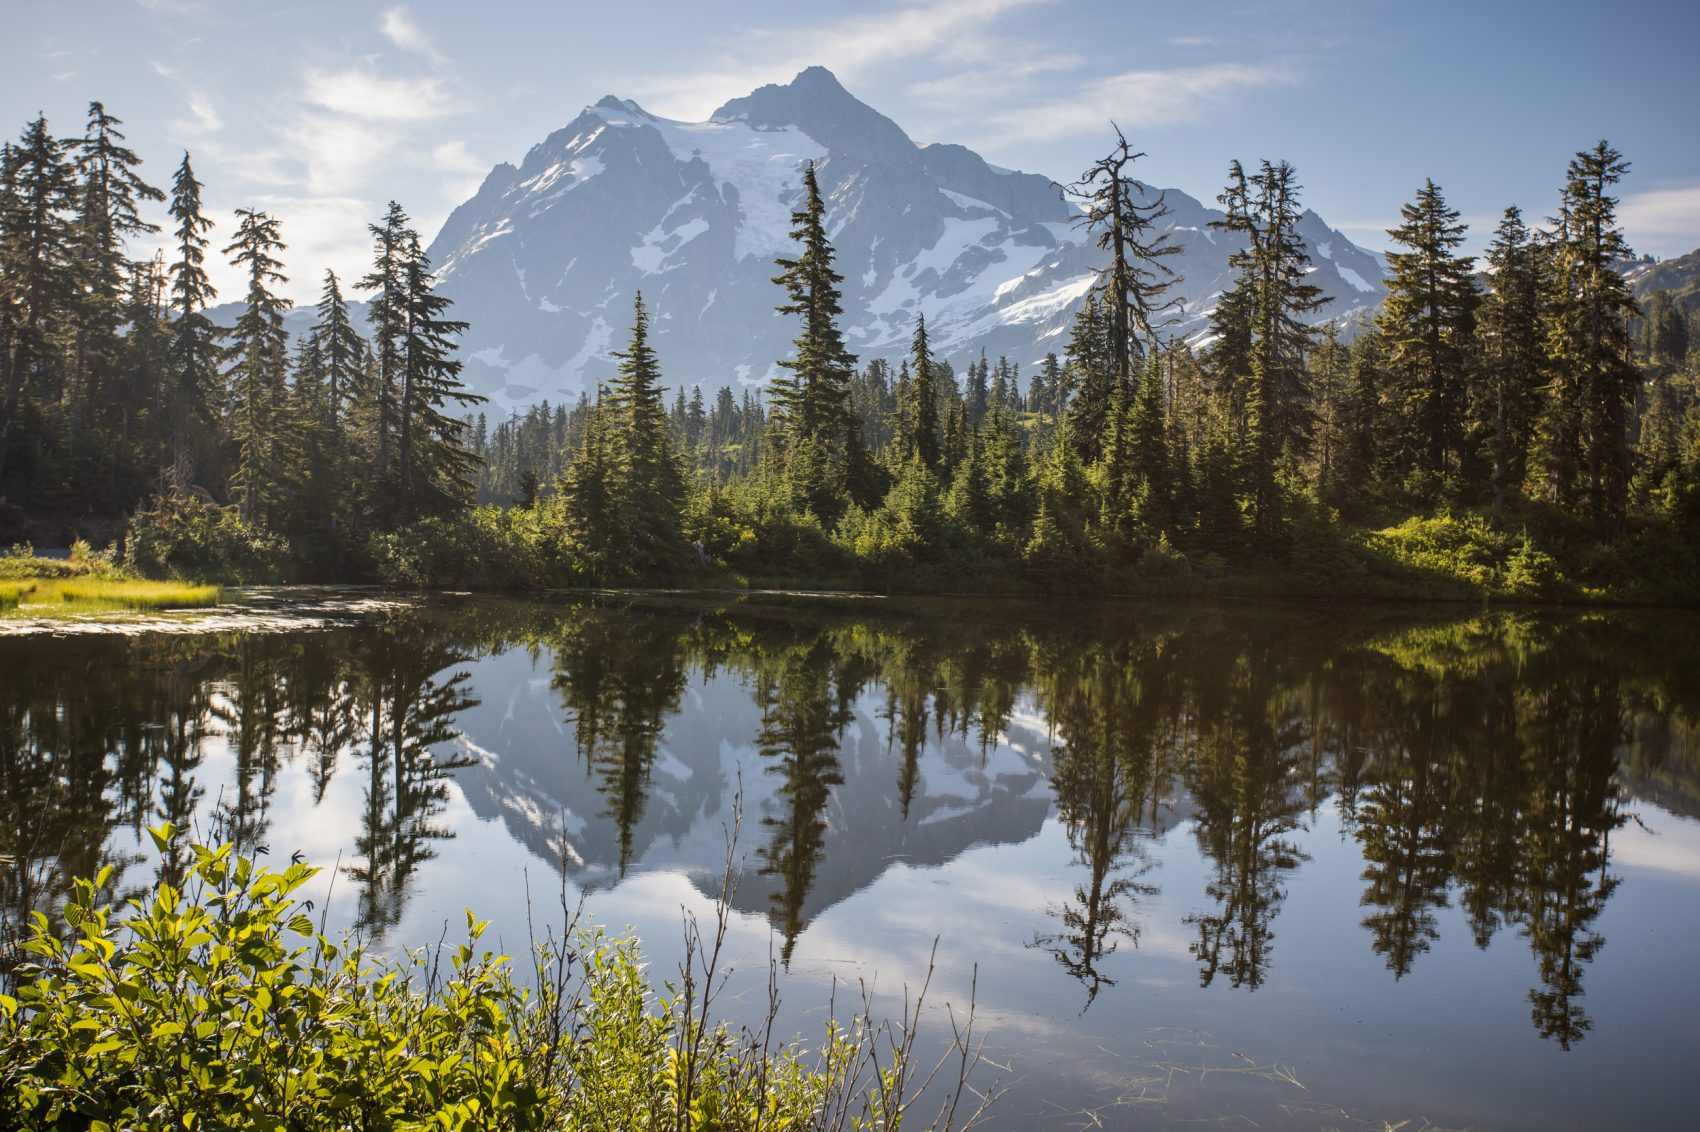
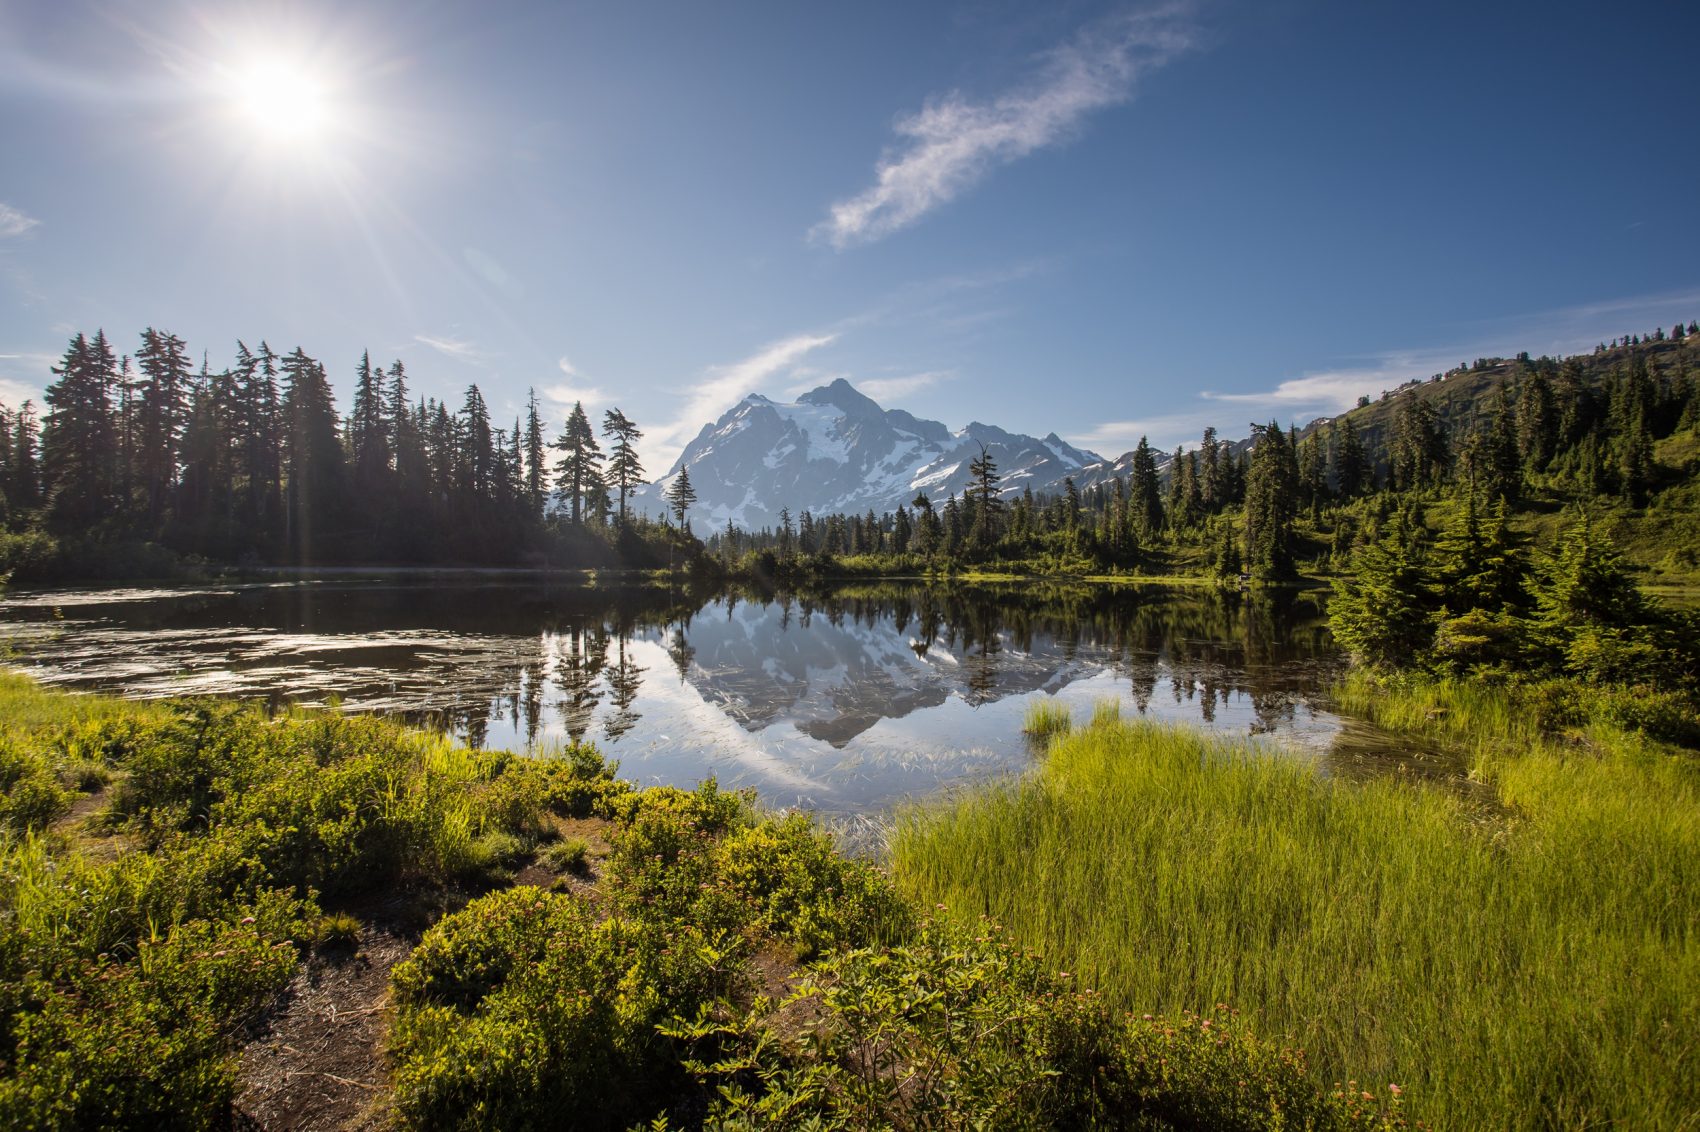
Day 5 was all about Mount Baker, and this one delivered big. We kicked things off with a quick stop at Picture Lake, which—true to its name—might’ve actually stolen the entire trip’s “Best Scenic Photo” award. Calm water, perfect reflections, wildflowers doing their thing, and Mount Shuksan standing in the background like it knew it was being photographed. Total show-off.
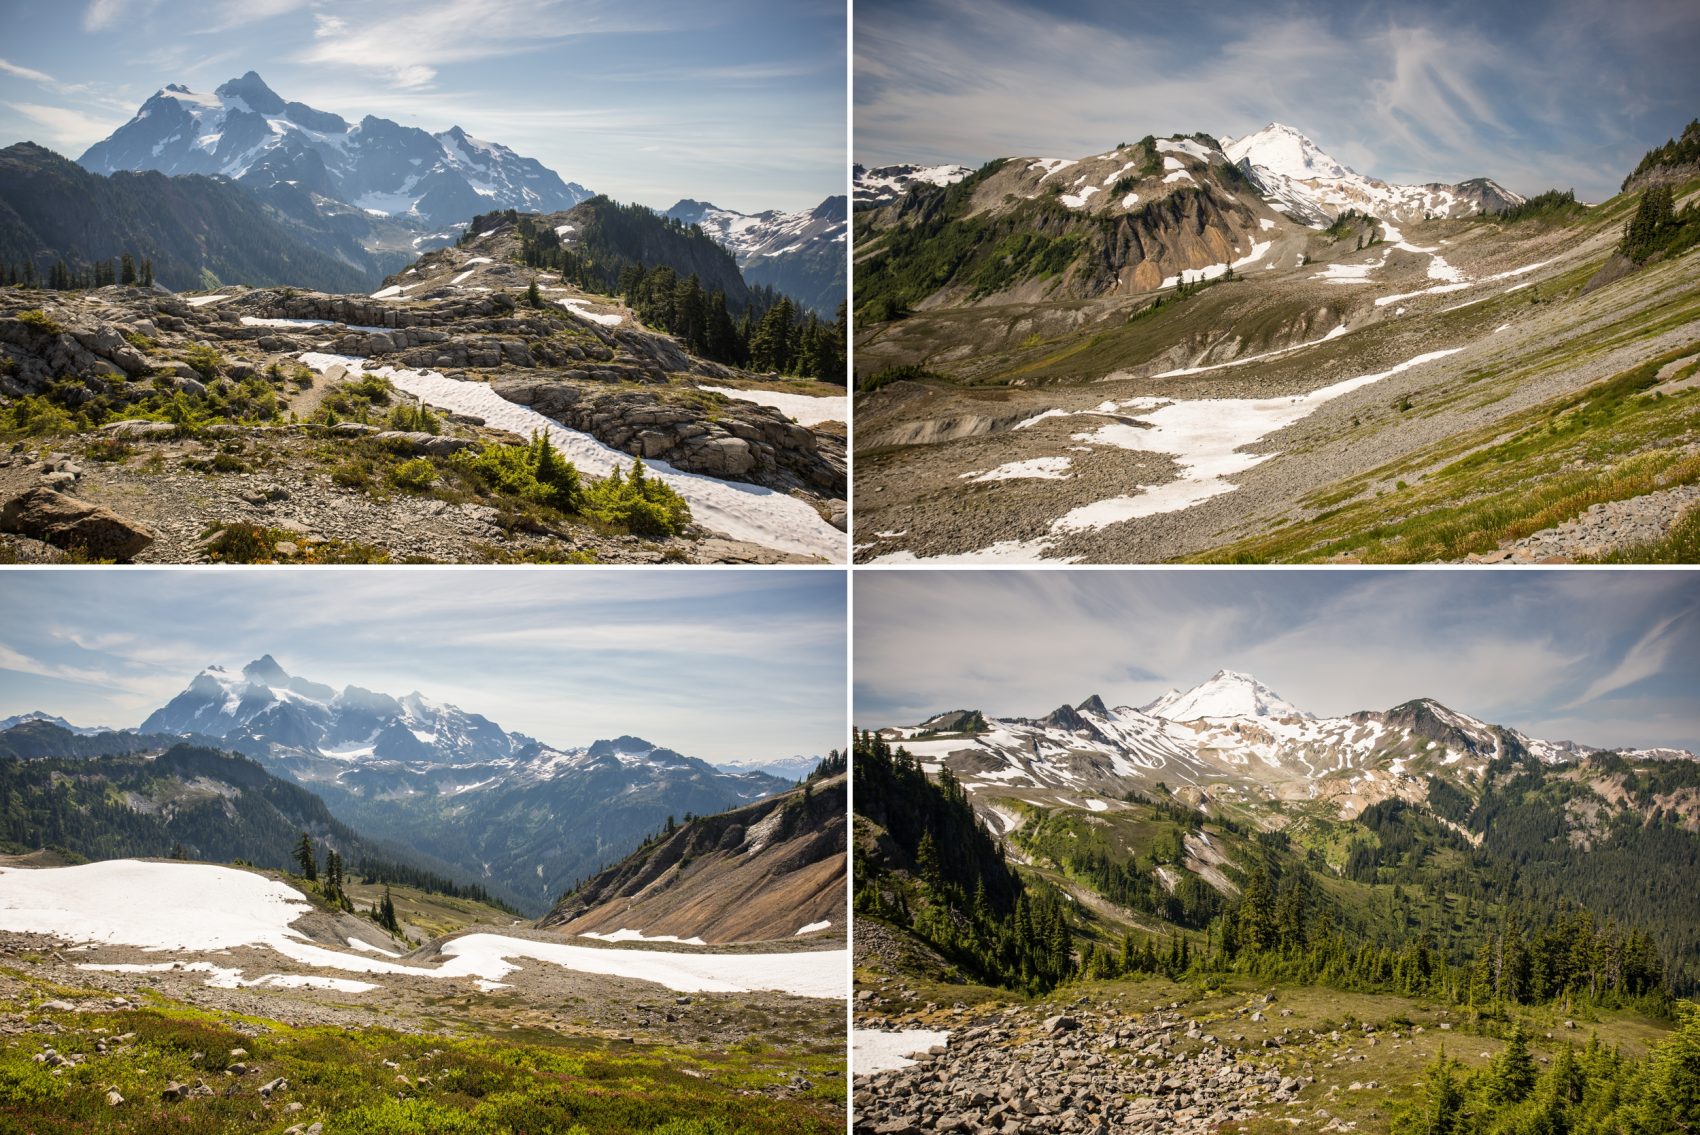
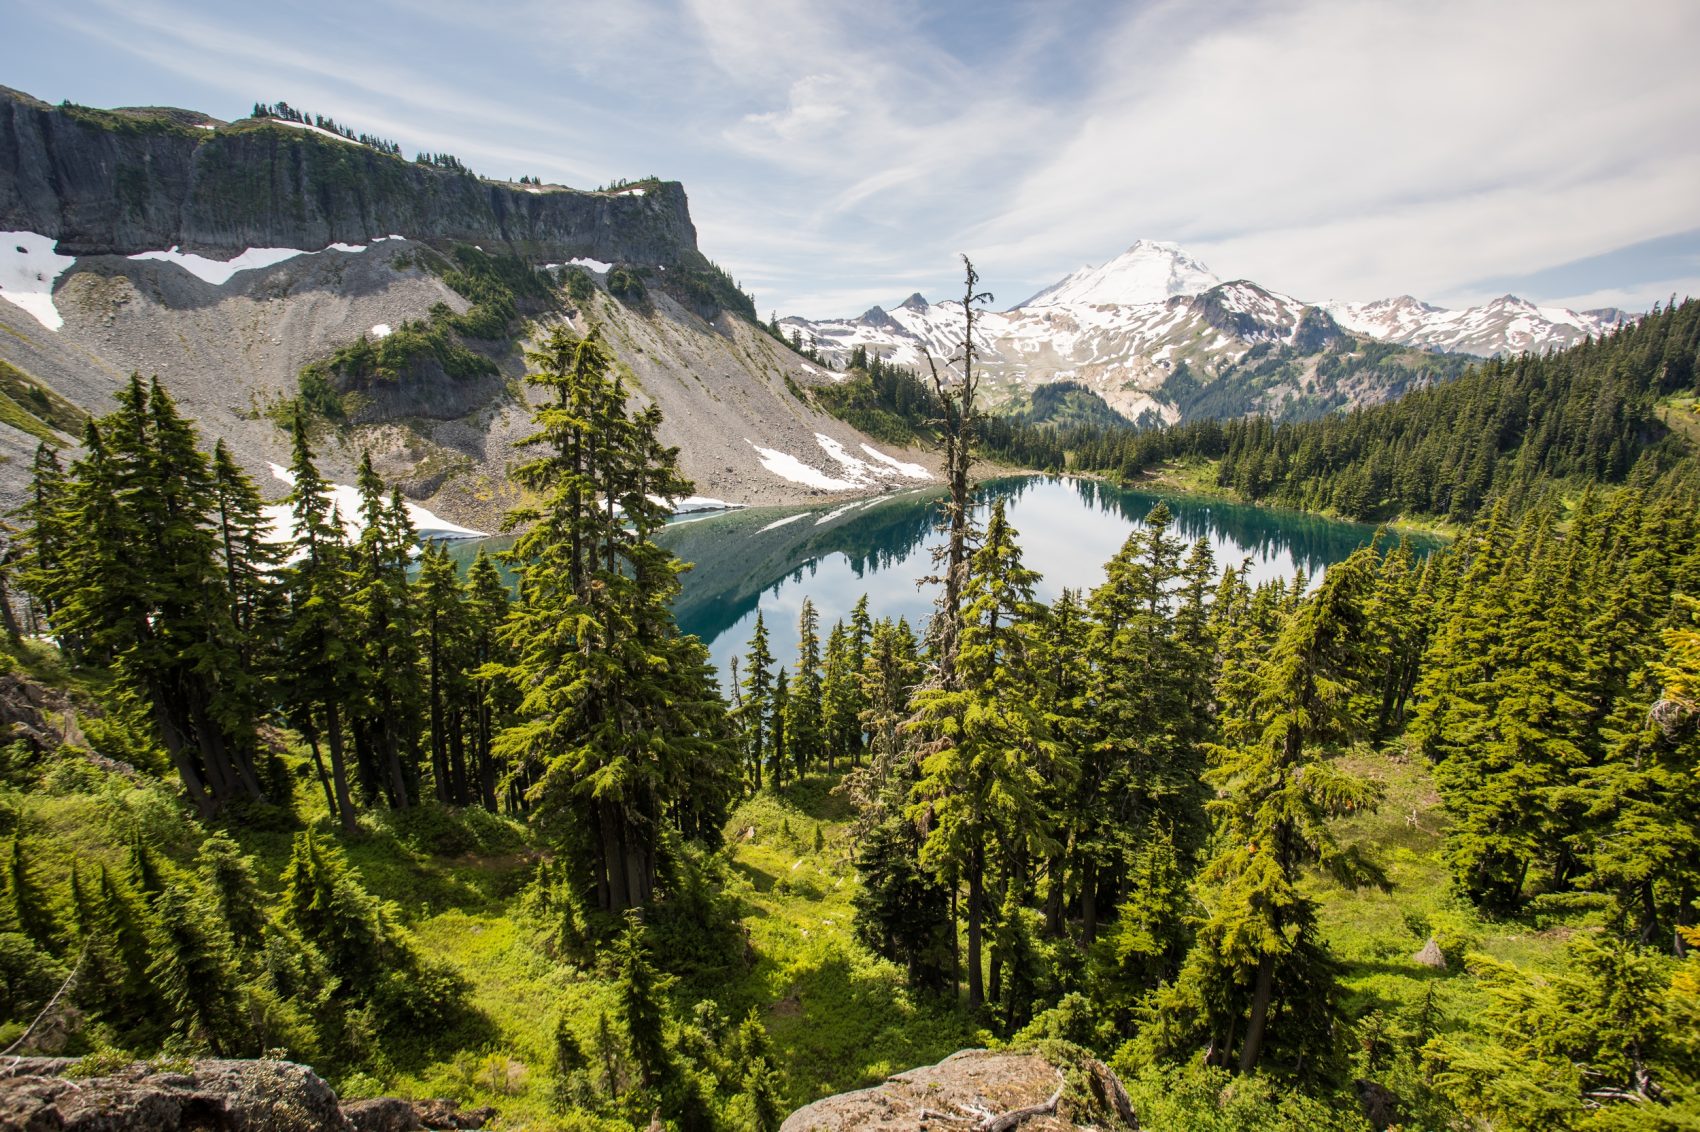
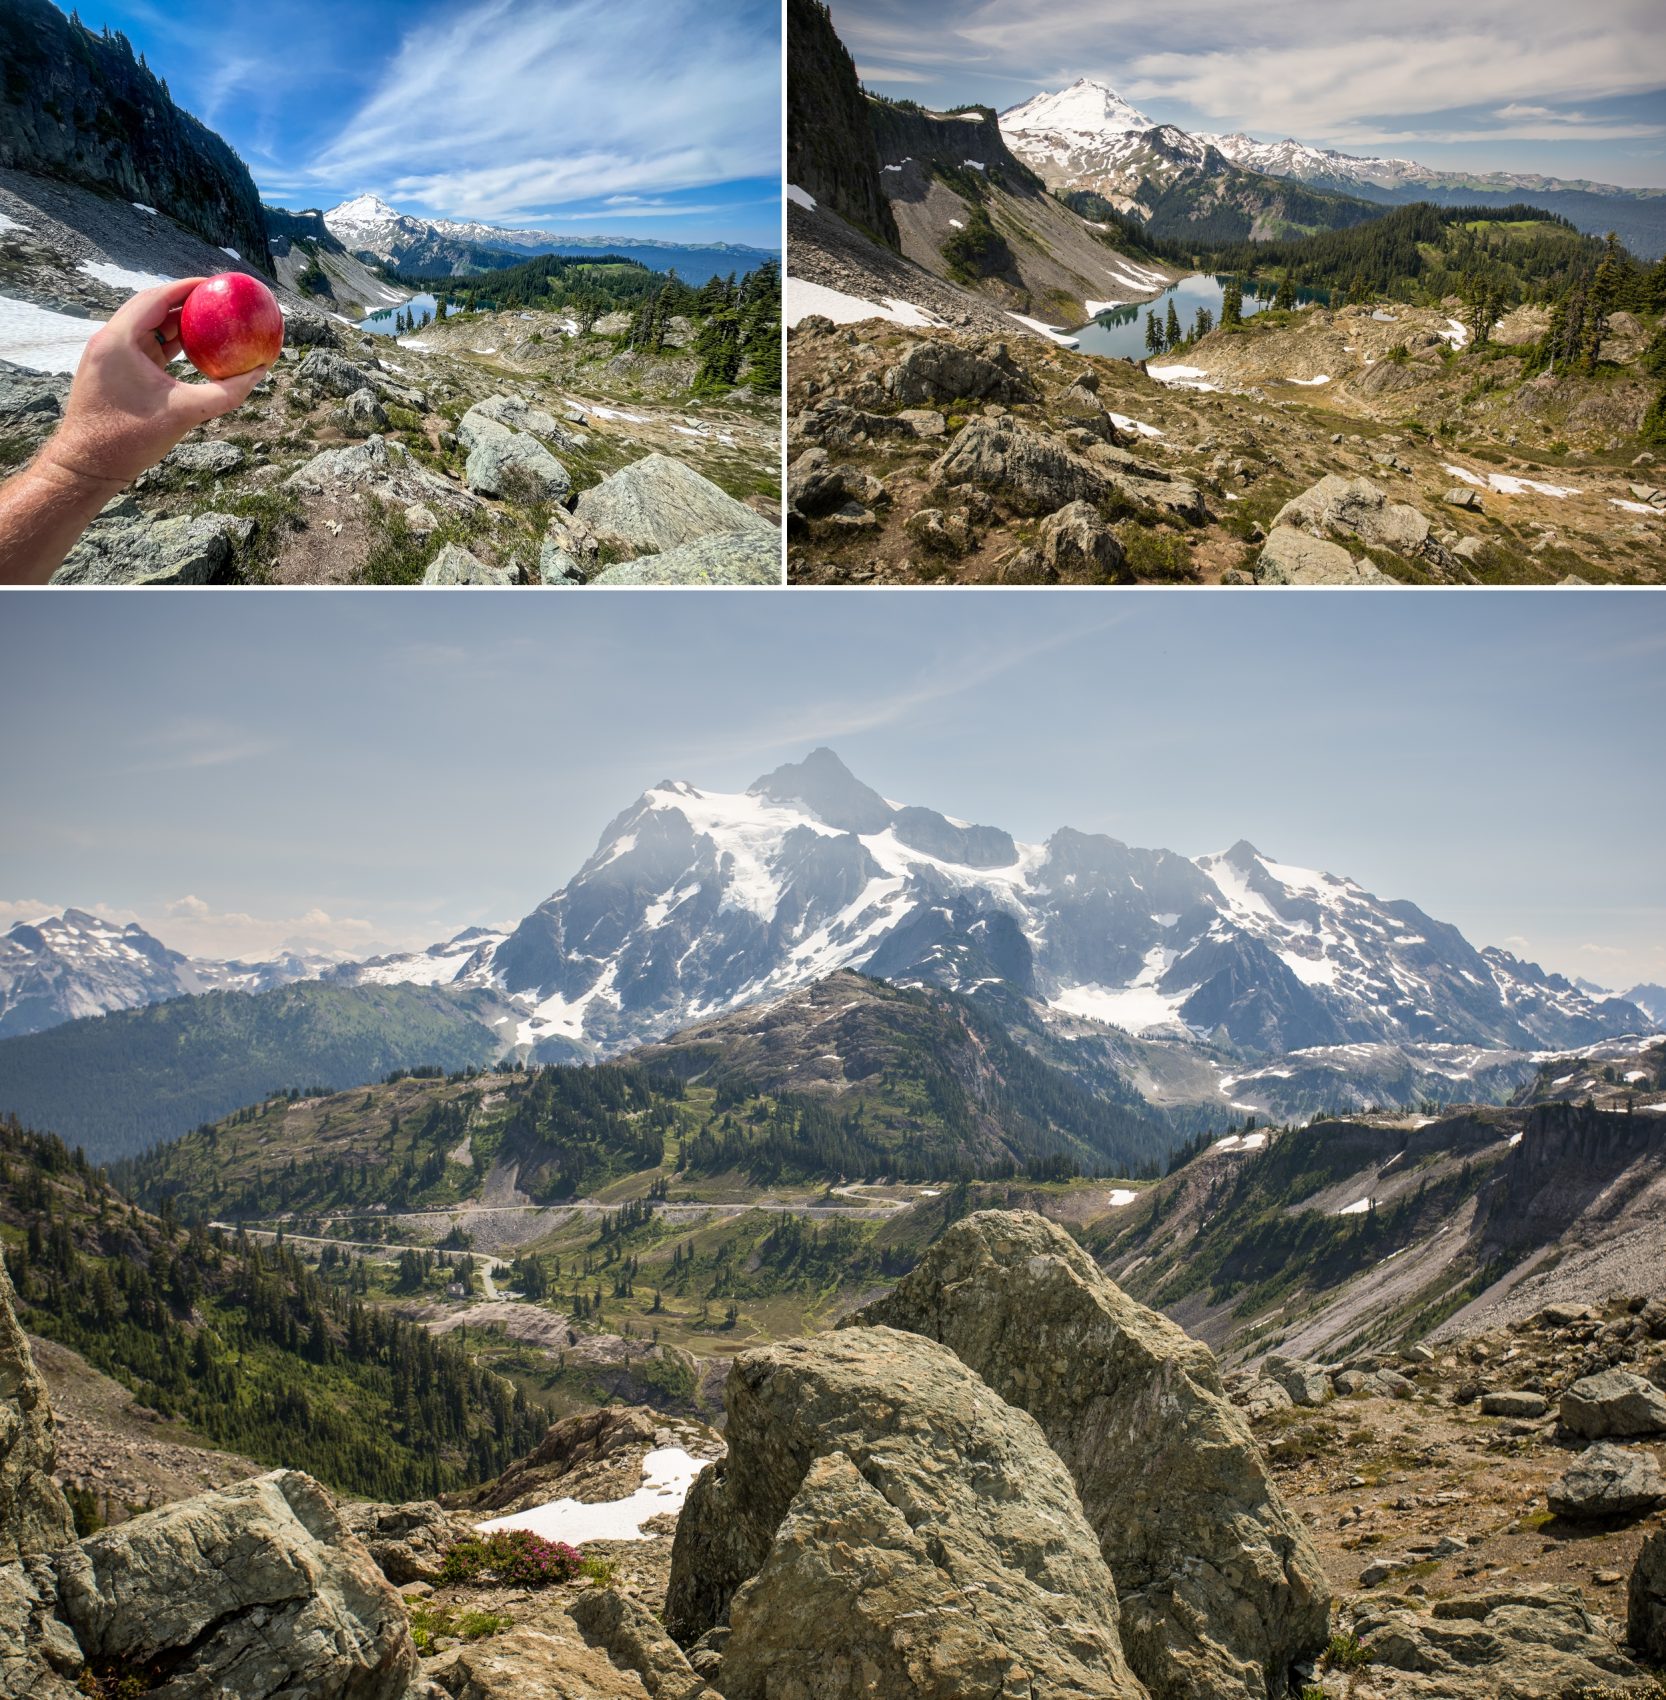
From there, we hit the Chain Lakes Loop — a hike that basically throws you onto a mountain ridge and says, “You want views? Here, have all the views.” For the first few miles, it was nonstop panoramas: Mount Baker to the left, Shuksan to the right, alpine lakes dotting the valley below, and ridgeline trails that felt straight out of a fantasy map.
The terrain shifted constantly — rocky paths, open meadows, shimmering lakes. We hiked through it all grinning like kids at recess, soaking in that perfect combo of big-mountain drama and just-challenging-enough elevation gain. It was the kind of trail where you keep stopping not because you’re tired, but because the view changes every 50 feet and you need a moment to take it in (or let your camera catch up).
But let’s not sugarcoat the ending. The last 1.5 miles of this loop? Brutal. We’re talking stairs carved into the mountain that go up… and then up some more. It was like the trail was punishing us for having too much fun earlier. Our legs were screaming, but the sense of accomplishment was real when we finally crested the ridge one last time.
Day 6: North Cascades → Maple Pass → Yakima
Trail Stats: ~7.2 miles, ~2,200 ft elevation gain
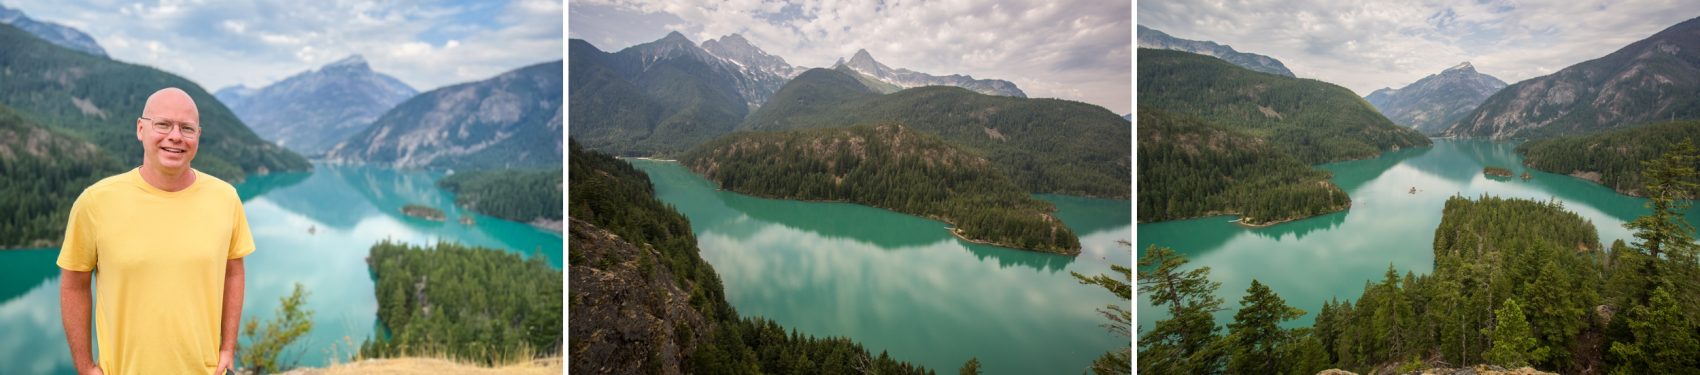
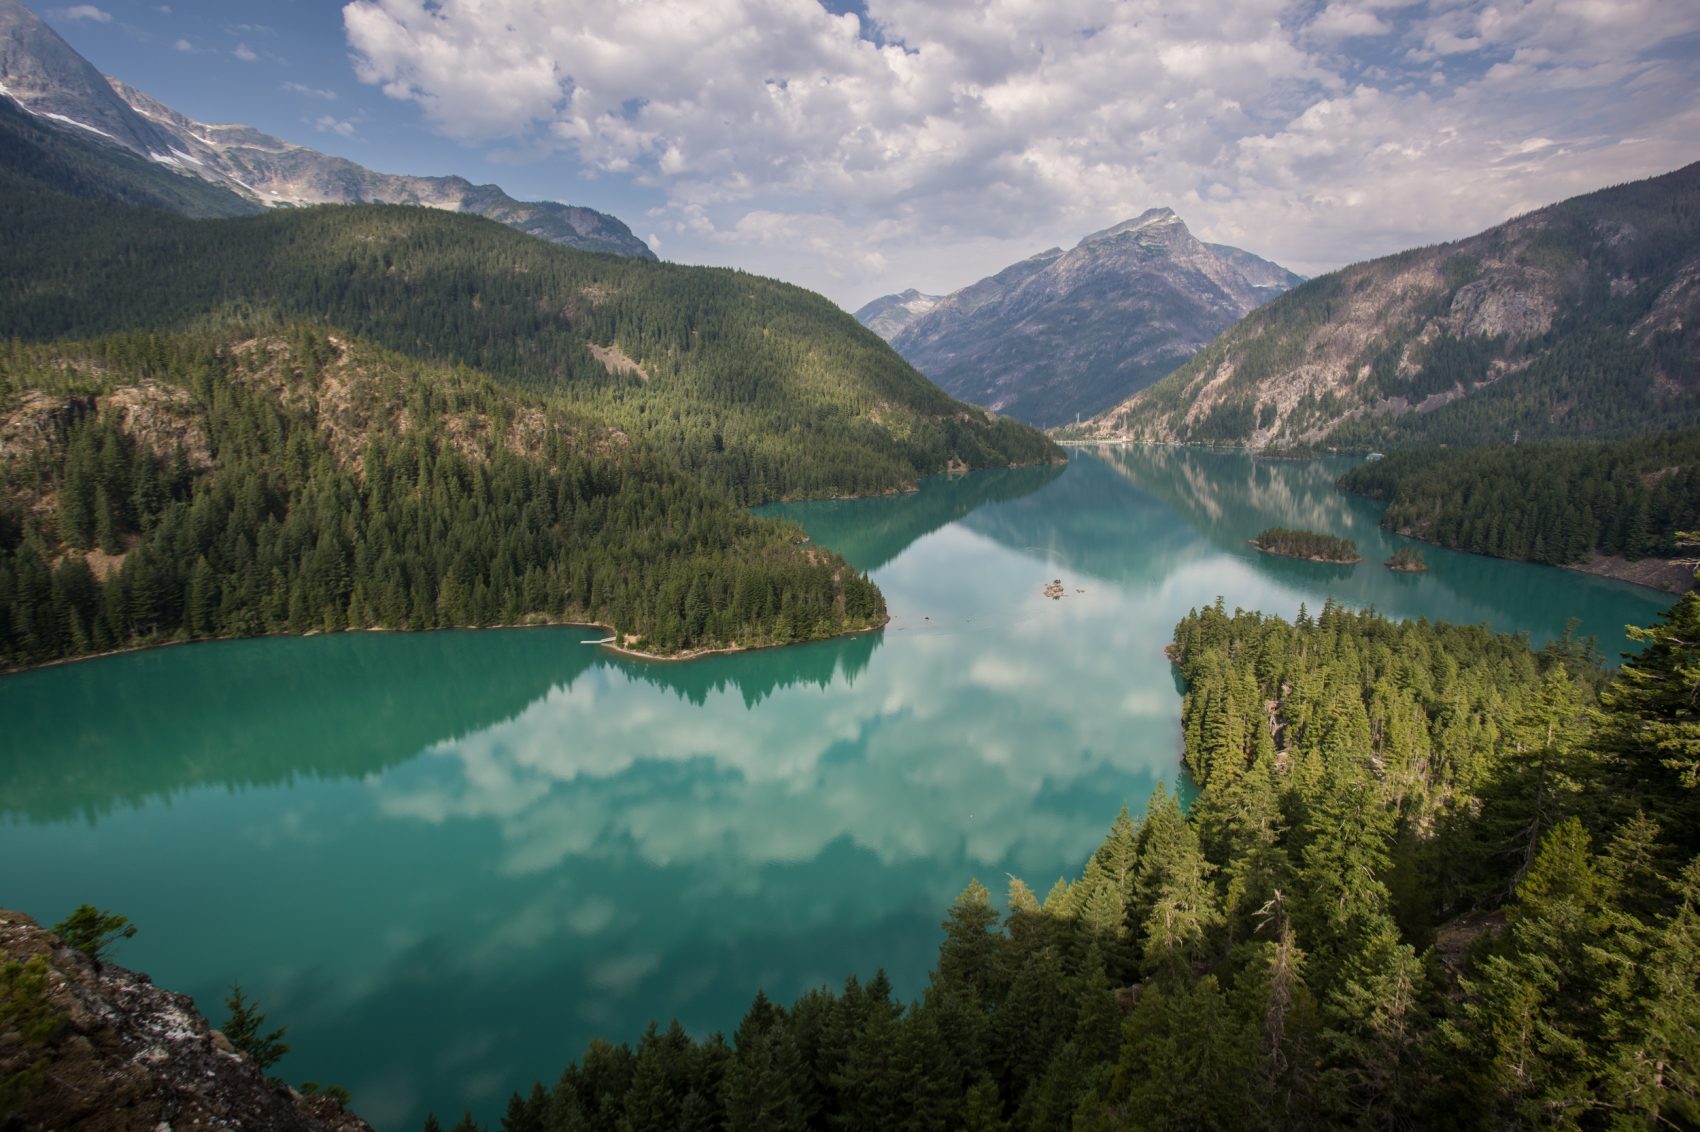
Scenic Bonus: Diablo Lake Lookout
We left Sedro-Woolley in the morning and headed east through North Cascades National Park, following one of the most scenic drives in the Pacific Northwest: the Cascade Loop. If you like your road trips with a side of alpine drama, glacier-fed rivers, and “we-should-pull-over-again” vibes, this drive is basically perfection.
First stop: the Diablo Lake Overlook, which absolutely lived up to the hype. That electric blue water is somehow even more surreal in person. Hot tip? Skip the crowds by walking past the bathrooms and sneaking around behind the fenced area — the real money shot is tucked just out of view. Shhh… you didn’t hear it from us.
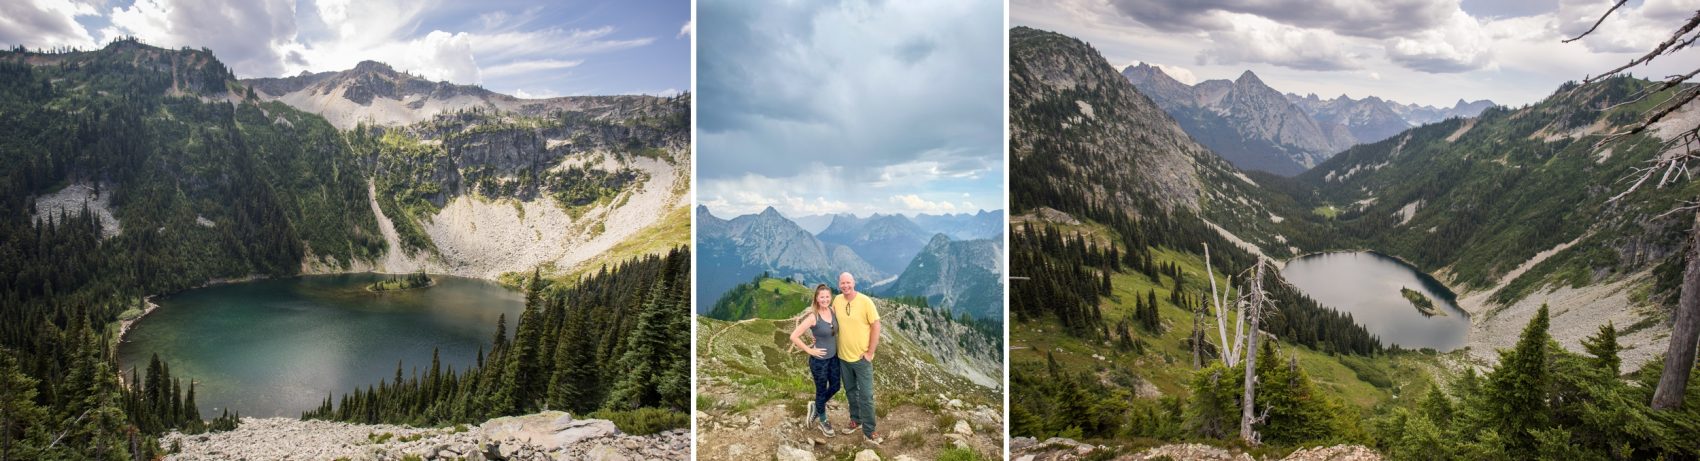
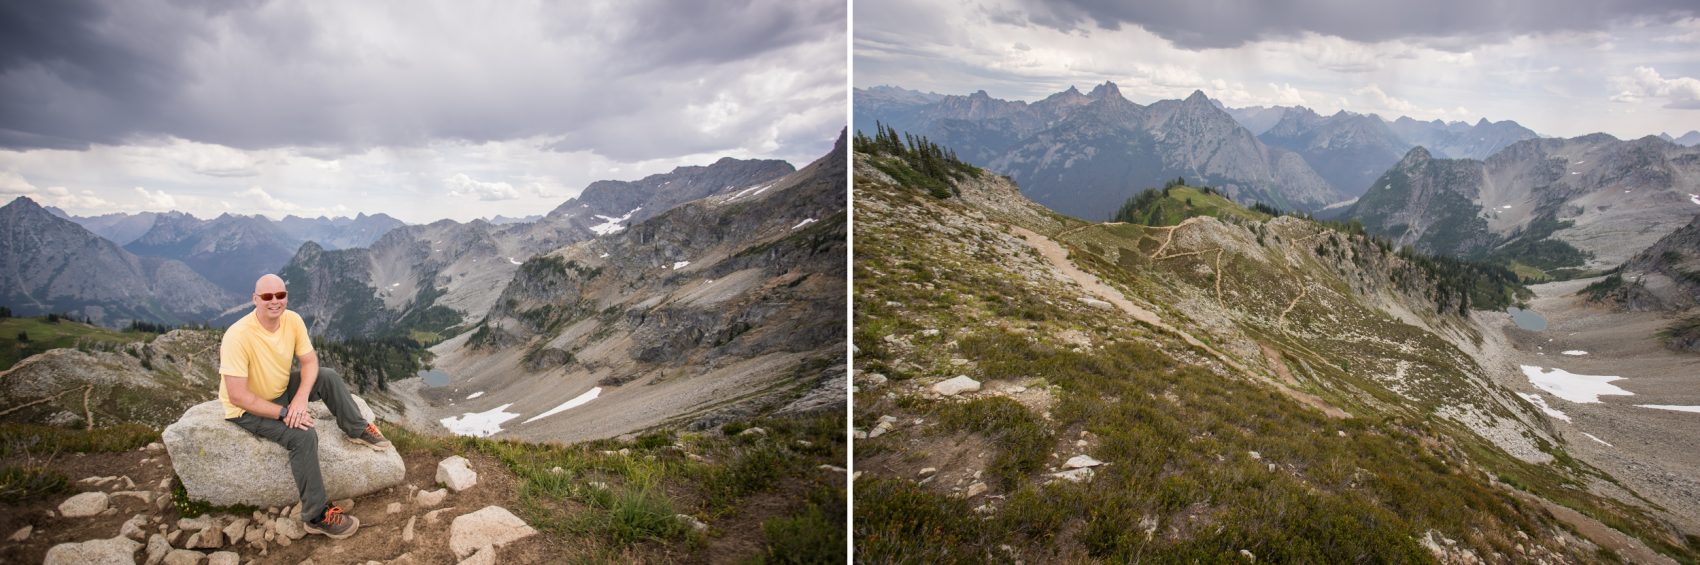
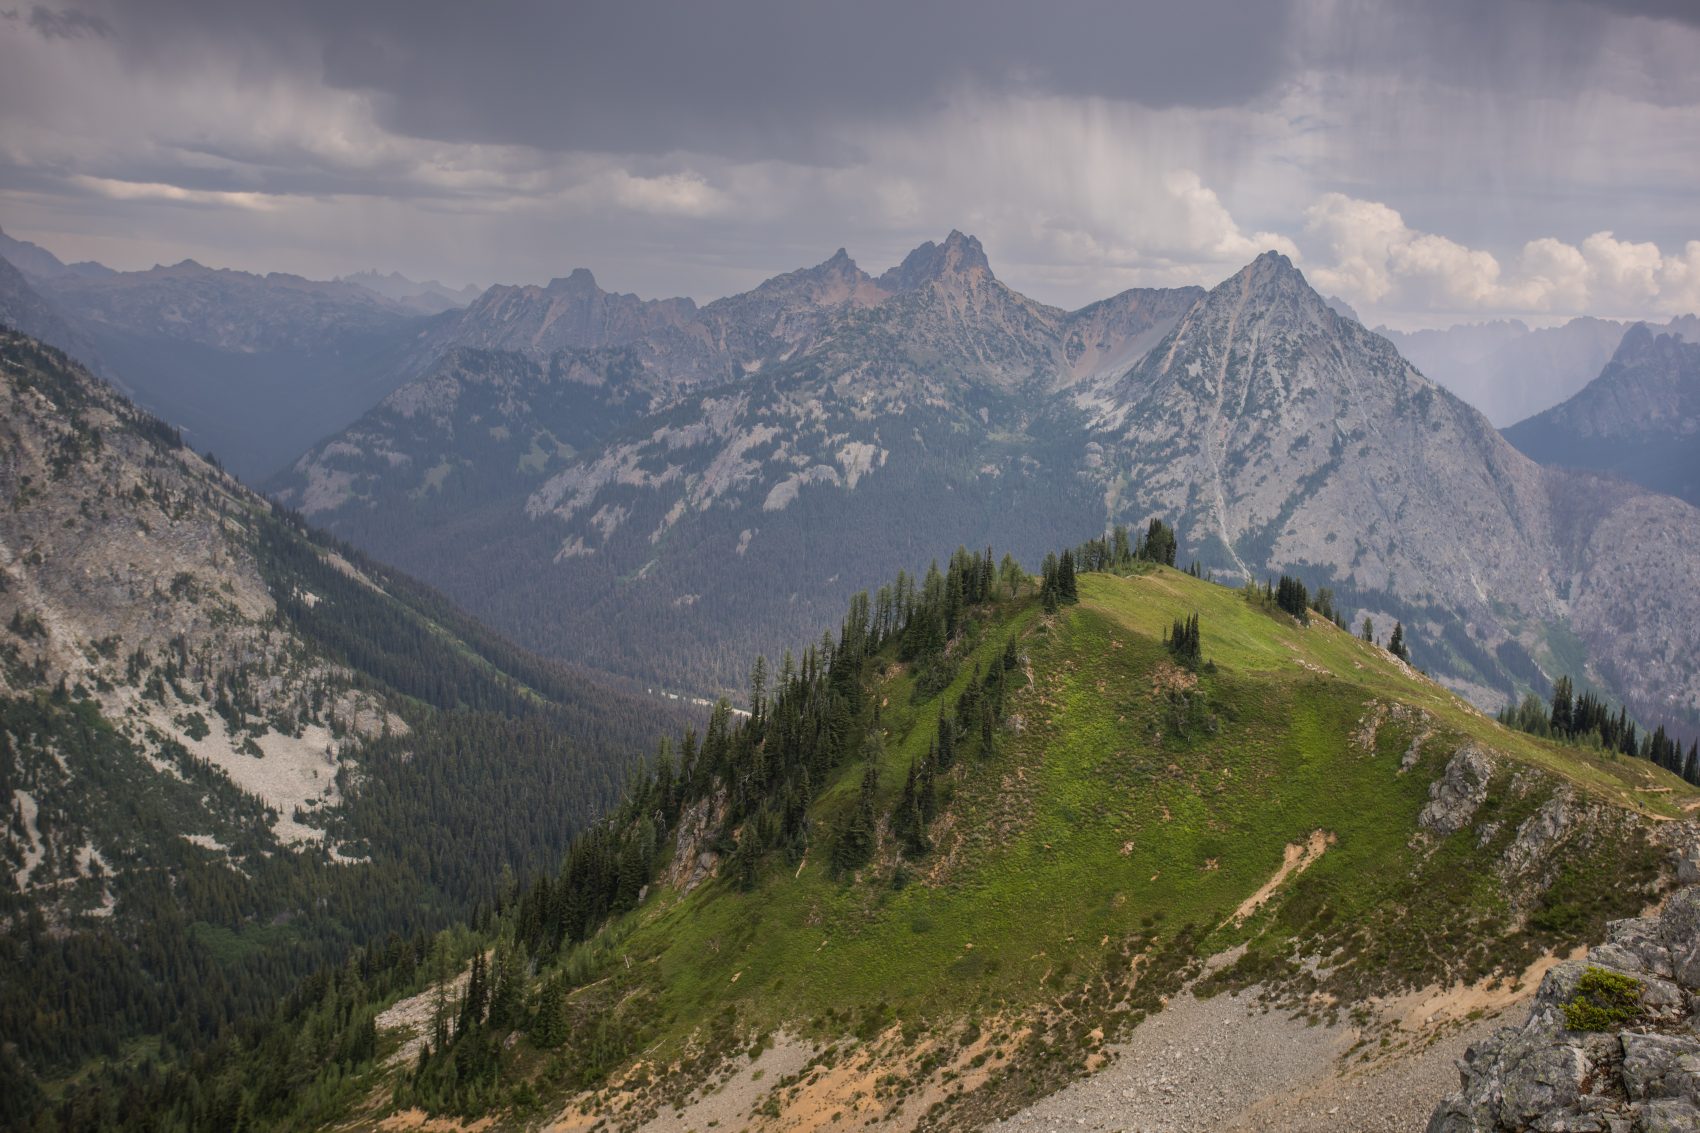
After a few more jaw-dropping roadside pullouts, we rolled into the trailhead for Maple Pass Loop, one of the most talked-about hikes in the region — and it didn’t disappoint. The trail starts in the forest, winds up through open meadows, and then explodes into sweeping mountain views that stretch in every direction. Clouds drifted in and out as we climbed, and just as we reached the ridgeline, we got a light mist of drizzle and the rumble of distant thunder. It was just enough to feel dramatic… without soaking our gear. A weather win.
We made the optional detour down to Lake Ann, which added about 1.2 miles round-trip. If we’re being honest? Probably not worth it. You already get epic aerial views of the lake from higher up on the loop — the kind where it looks like someone dropped a sapphire into a bowl of pine trees. Once you hike all the way down to the shoreline, it kind of loses that magic (and your knees start to question your judgment). If we did it again, we’d skip the descent and just admire from above.
After finishing the loop, we hit the road again for a long, quiet drive to Yakima — through rain-soaked valleys and dramatic cliffside highways. It was a full day, but one of the most scenic of the trip.
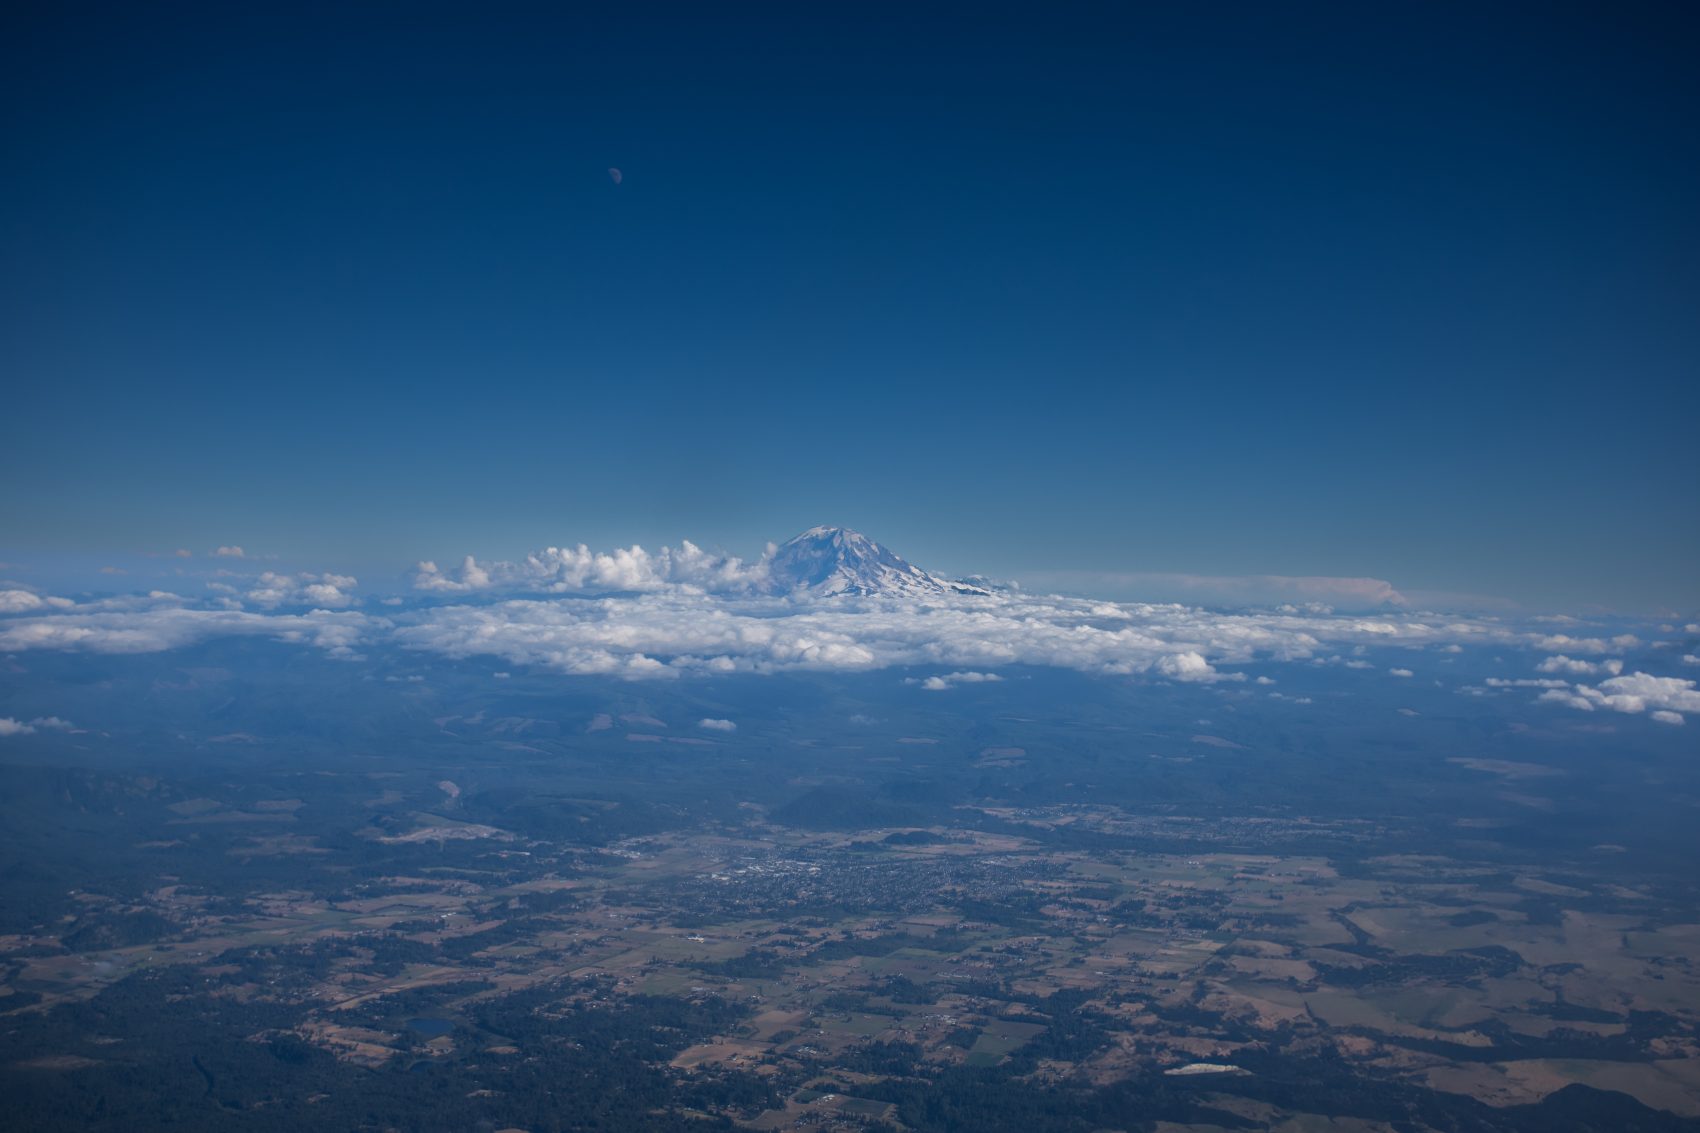
Day 7: Mount Rainier (Paradise Entrance)
Trail: Skyline Trail Loop
Stats: ~5.5 miles, ~1,700 ft elevation gain
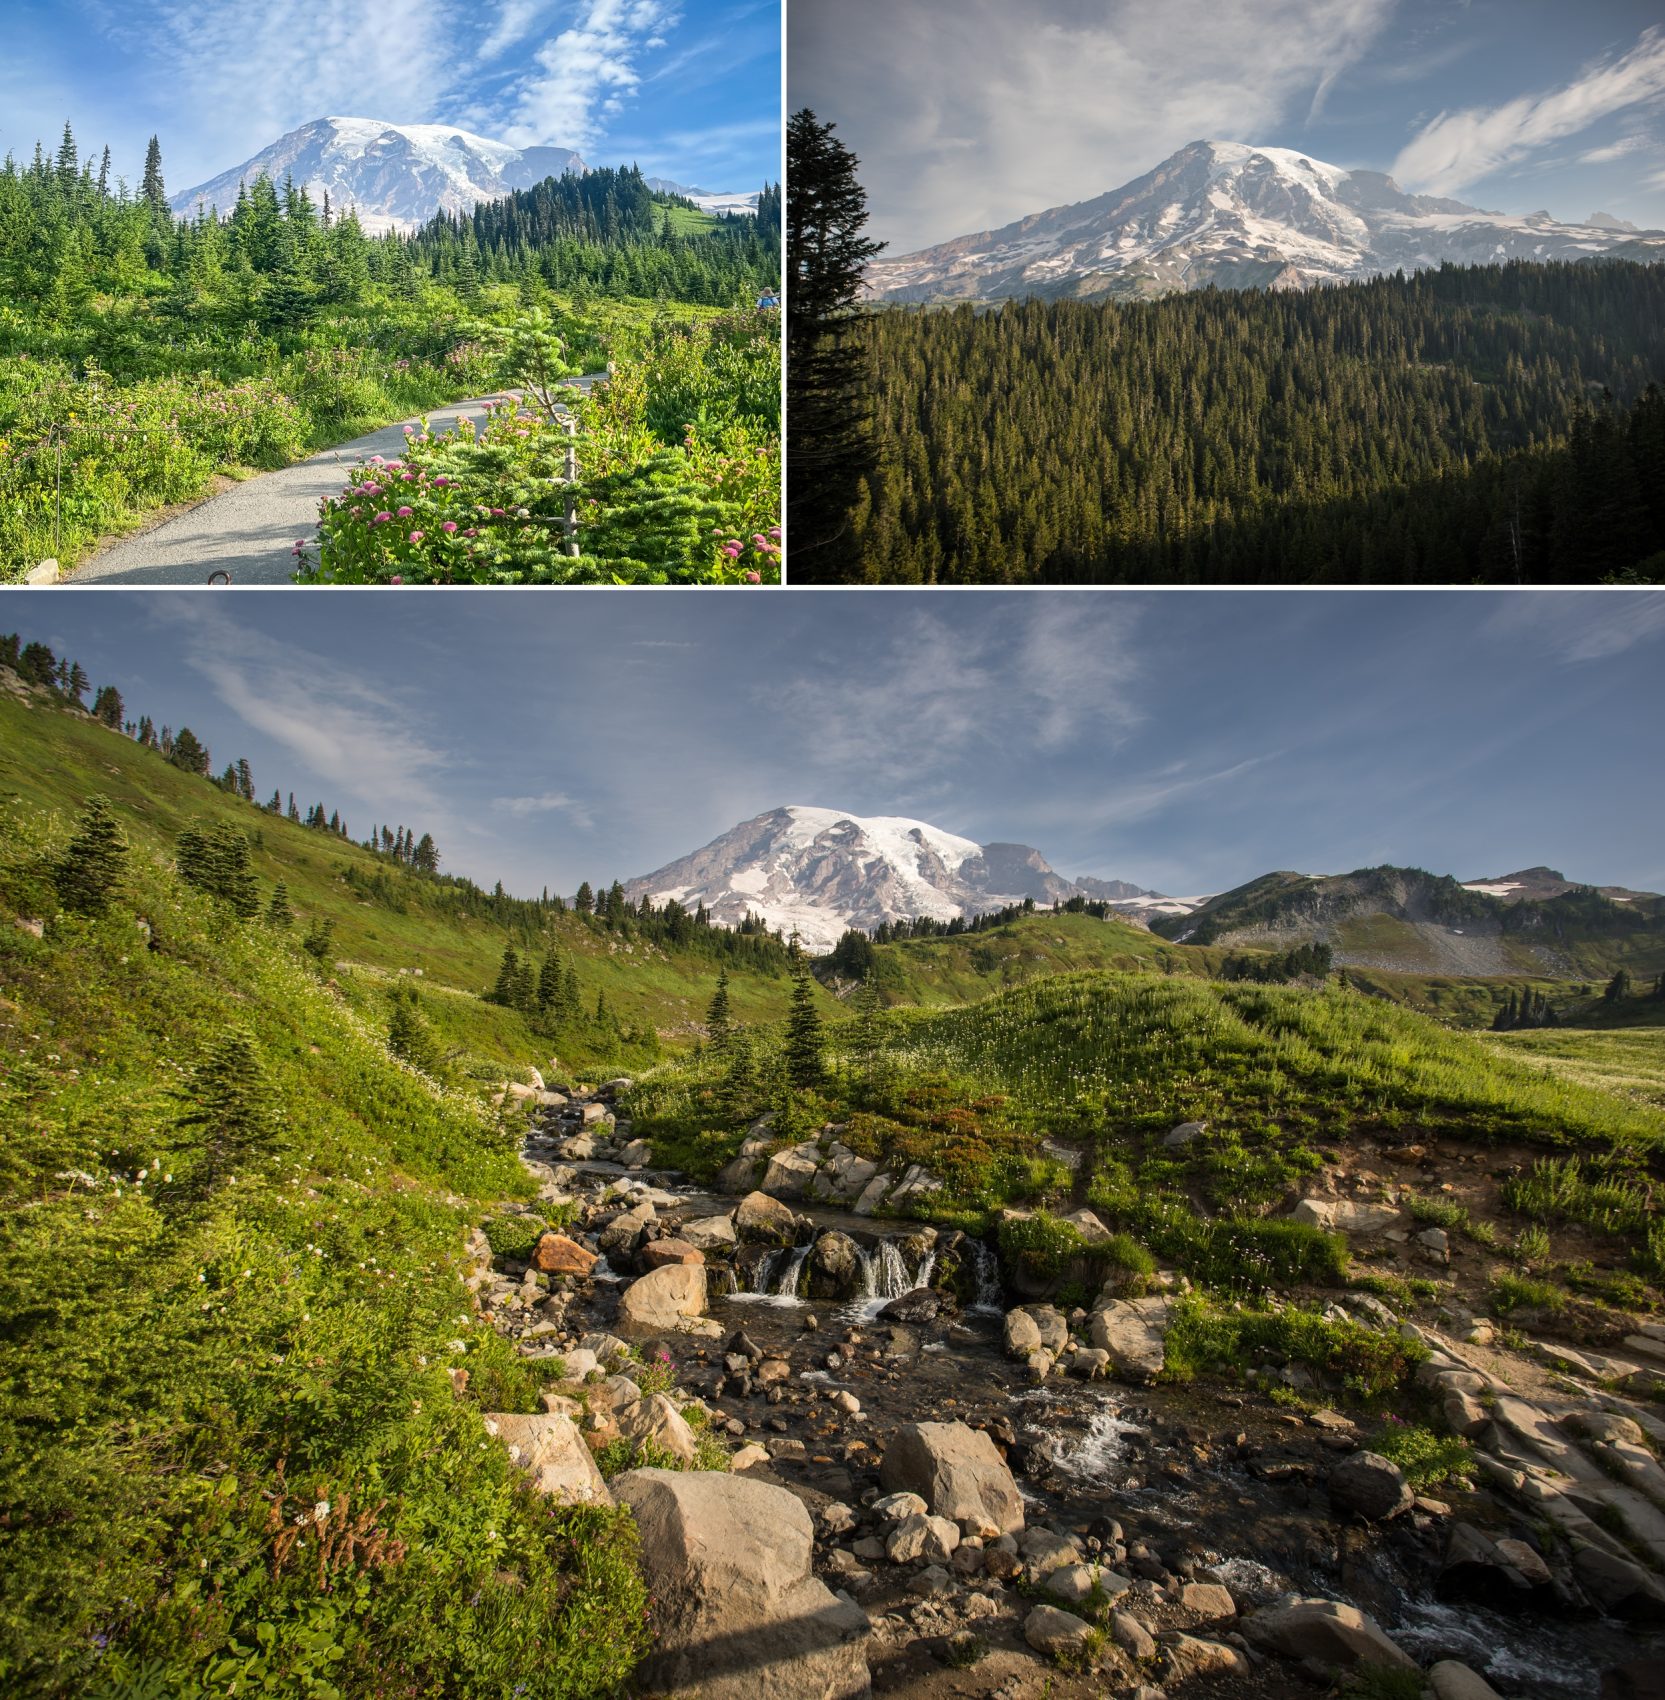
By Day 7, our legs were starting to feel like overcooked linguine — but there was no way we were skipping Mount Rainier. This national park is the crown jewel of Washington, and we were finally headed into the heart of it: the aptly named Paradise entrance.
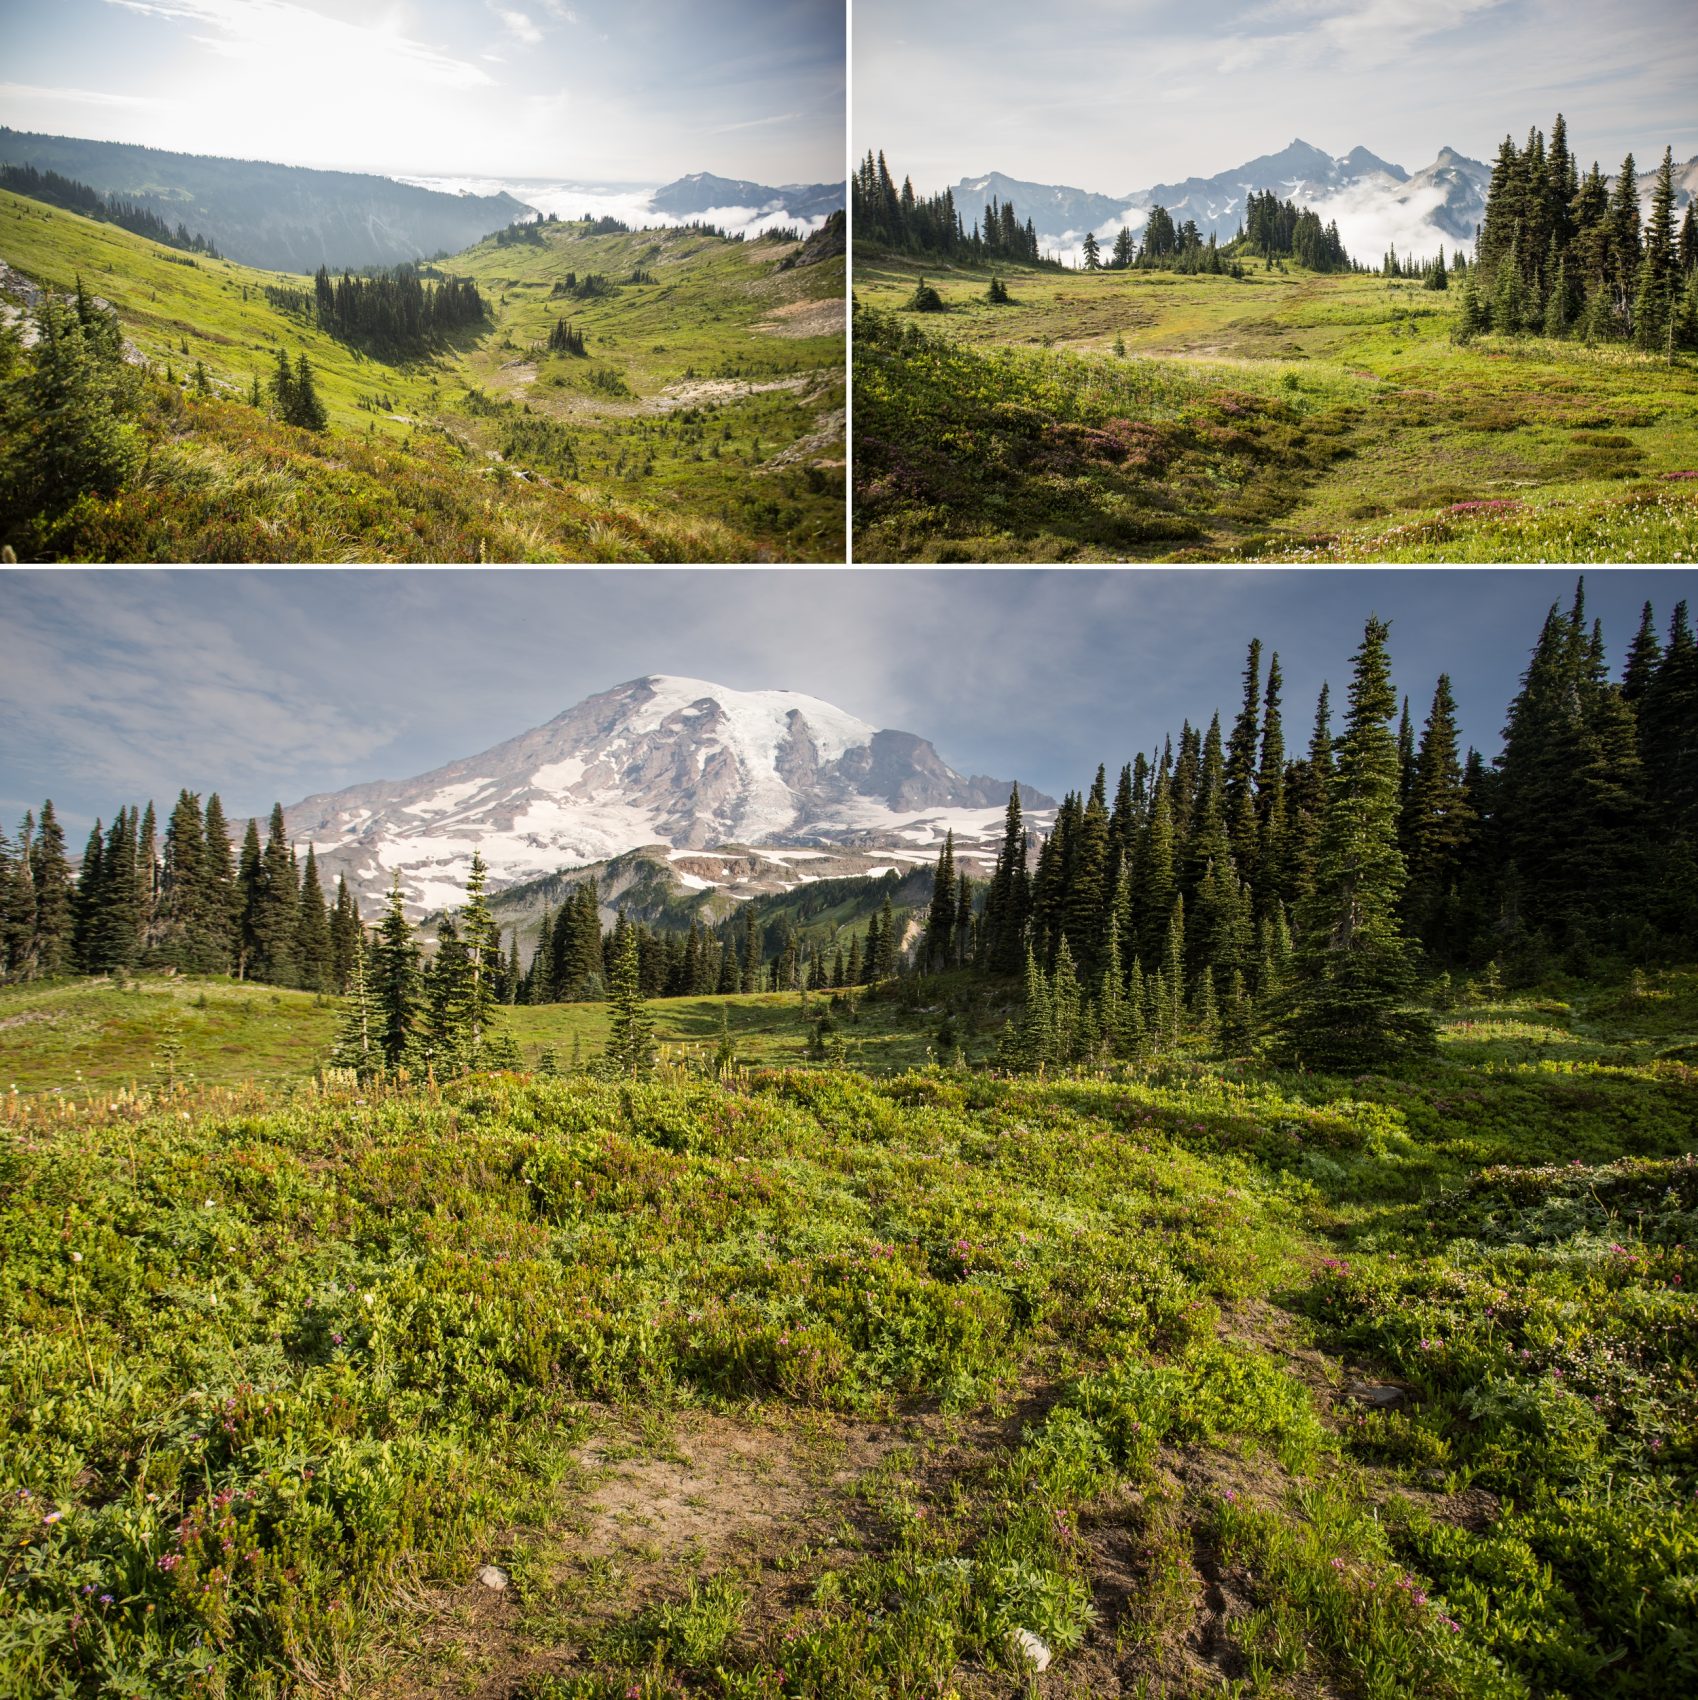
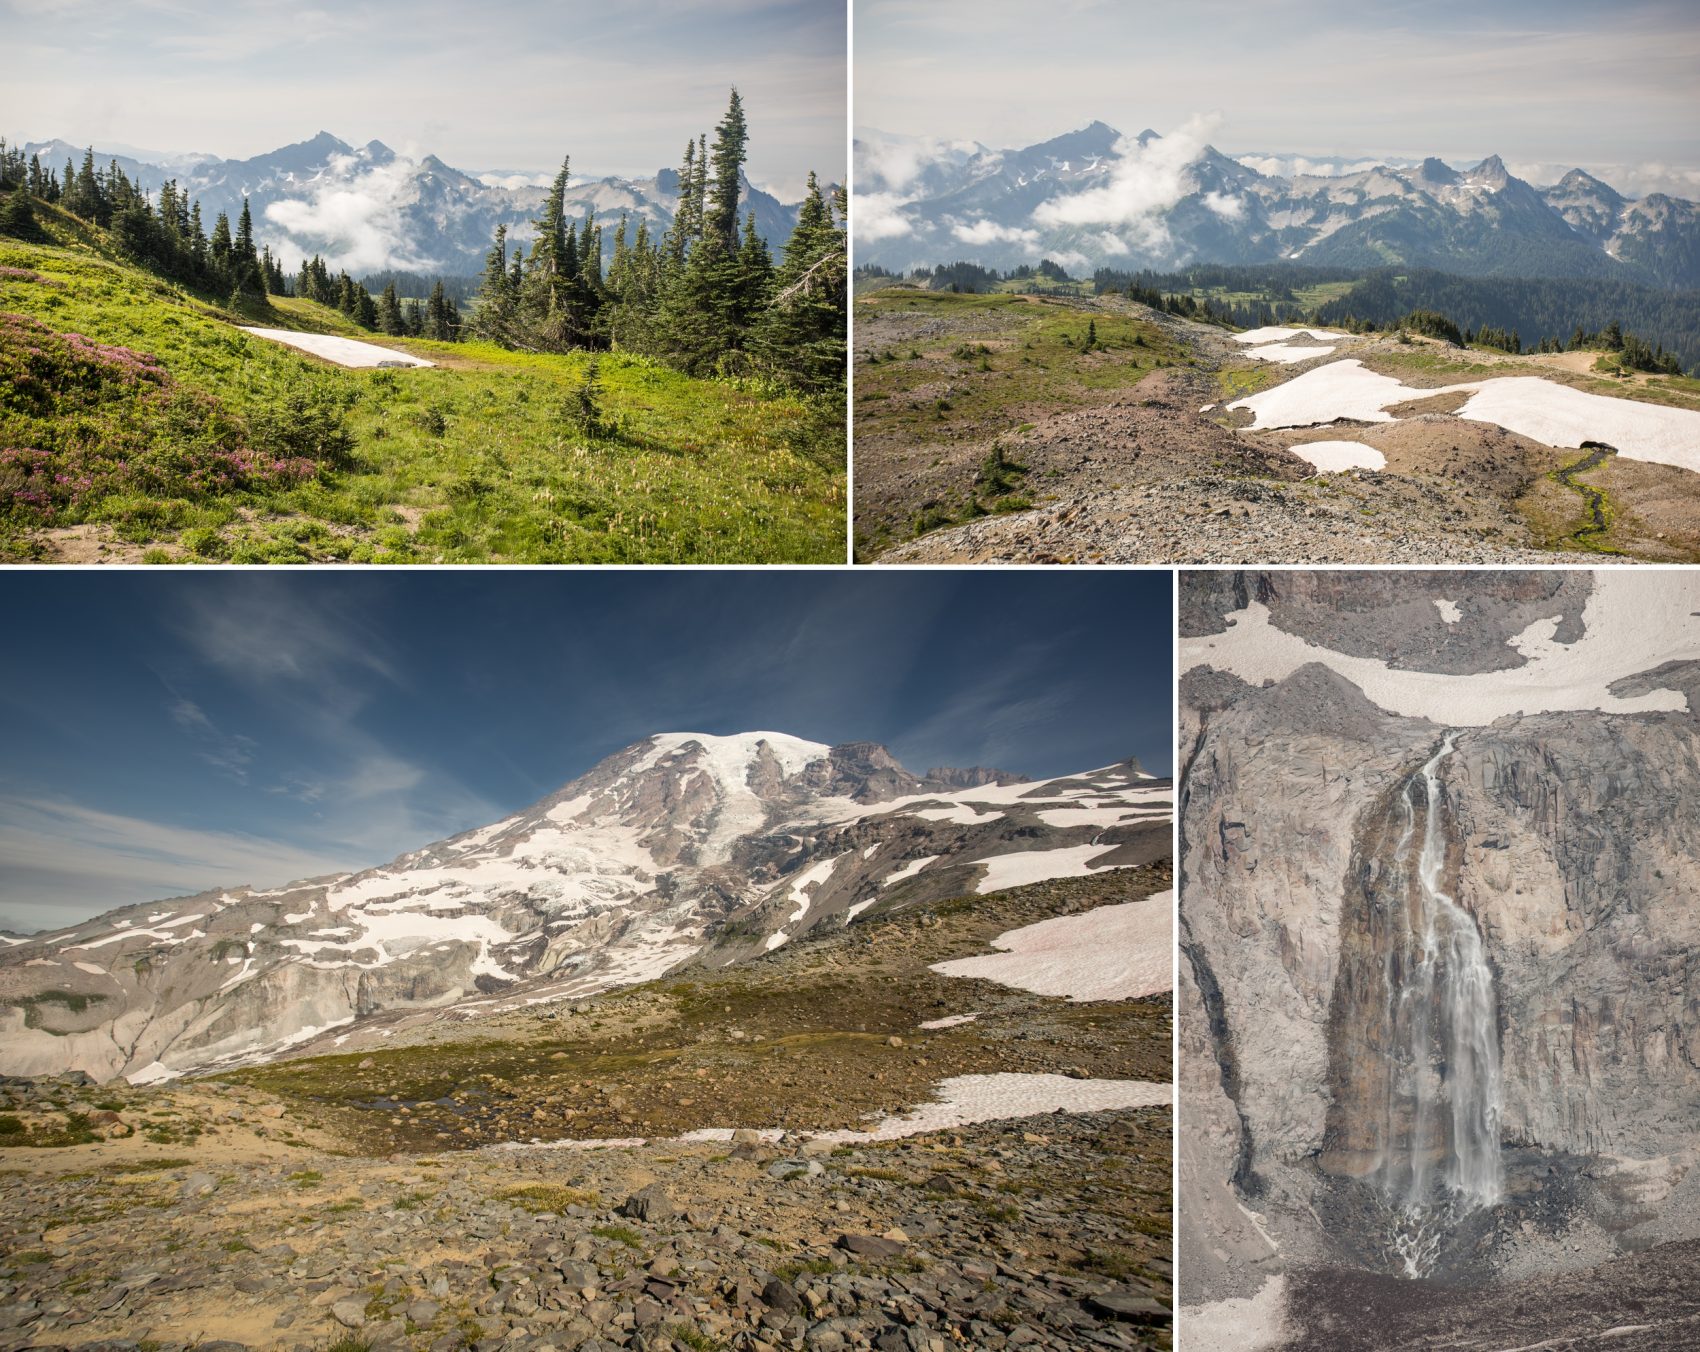
We tackled the Skyline Trail Loop, which might just be one of the most unfairly scenic hikes in the country. Within the first quarter mile, you’ve already passed Myrtle Falls, spotted wildflower-covered meadows, and caught a full view of Rainier towering above you like it’s posing for a postcard. Every section of the trail delivered — sweeping views, playful marmots, snowfields in mid-summer, and one of the most photogenic alpine landscapes we’ve ever seen.
But make no mistake: we were not alone. Despite hitting the trail before 8:00 AM, it felt like half the state had the same idea. After days of peaceful, uncrowded trails in BC and the North Cascades, the sheer volume of people on the Skyline Trail was… a lot. Not enough to ruin the experience — it’s still 100% worth doing — but don’t expect solitude here unless you’re hiking in a rainstorm or in your dreams.
Still, we made the most of it — timing our photos carefully between hiking groups, pretending not to hear people loudly describing their granola bars, and soaking in the alpine magic that makes Paradise so special. It’s the kind of place where you’re constantly stopping just to take it all in (and also to let faster hikers pass, because again, so many people).


Day 8: Plans, Prices, and the Great Olympic National Park Pivot
Original Plan: Explore Olympic National Park
Actual Plan: Flee sticker shock, save sanity
Flight: Moved up one day early — no regrets
Fresh off our Skyline Trail high, we had dreams of squeezing in one final adventure in Olympic National Park before heading home. The idea was simple: drive west, crash in a hotel, explore the park, then cruise back to Seattle for our 7:00 AM flight two days later.
But here’s what we didn’t plan for: Olympic National Park hotel prices that belong in a dystopian sci-fi novel. We’re talking nearly $500 a night for a place that looked like it hadn’t been vacuumed since the last Twilight movie. We stared at the listings in disbelief, and my wife said — without hesitation — “I’m not sleeping there.” She was absolutely right.
To make things worse, our estimated 4-hour drive to the coast morphed into 6+ hours thanks to traffic and the classic Washington summer weekend rush. At that point, the math did itself. We swapped our flight, booked an earlier return, and pointed the car back toward Seattle. Olympic will still be there next year — and next time, we’ll book it on purpose.
In hindsight, a better use of that final day would’ve been exploring any number of hikes on the Sunrise side of Mount Rainier, or making a detour to the Leavenworth area for one more alpine trail and a bratwurst or two. But in the moment? Our tired legs and aching toes were thrilled to have a quiet day at home with a washer, a dryer, and a foot massage gun.
Final Thoughts
This Pacific Northwest Mega Loop was everything we hoped for — alpine lakes, ridgeline trails, waterfalls, mountains upon mountains, and just enough logistical chaos to make it a real adventure. We hiked hard, drove far, and made more great memories (and sore muscles) than we can count. Highly recommend this route — just maybe book your Olympic hotels before your knees give out.